
I’ve installed Vanilla Arch Linux 4-6 ways over the years, and this is my second time using the archinstall method. It has improved over the past year, IMHO, and seemed to be a tad easier and more efficient this time.
About 51 pictures this time, so am going to try and let most of the pics ‘Speak for themselves’ by adding a brief “Caption” describing the step. It will be long, but I don’t want to break it up in parts.
archinstall
‘archinstall is a helper library which automates the installation of Arch Linux. It is packaged with different pre-configured installers, such as a “guided” installer.’
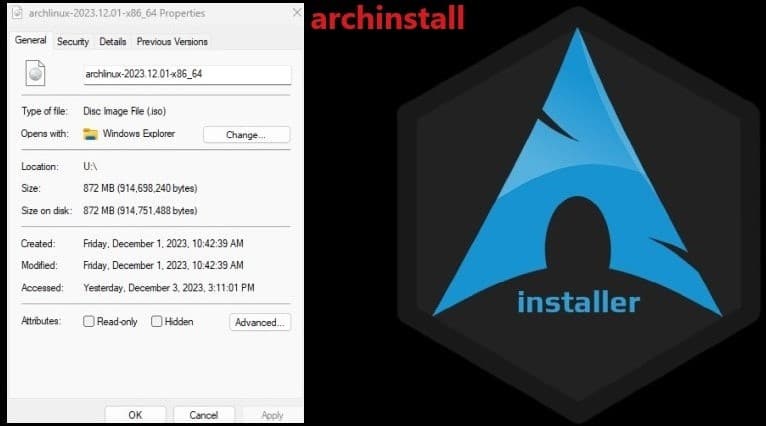
I downloaded the archlinux-2023.12.01-x86_64.iso @ 872 MB from the closest mirror listed, and the archinstall comes with the iso. Used Etcher to create the bootable USB. I’m not that experienced with setting up a Wireless internet connection so used an Ethernet connection to keep it simple.
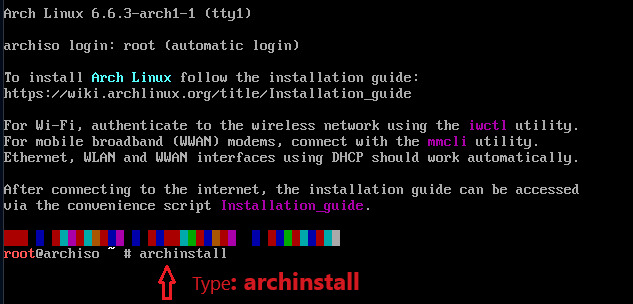
Running the installer:
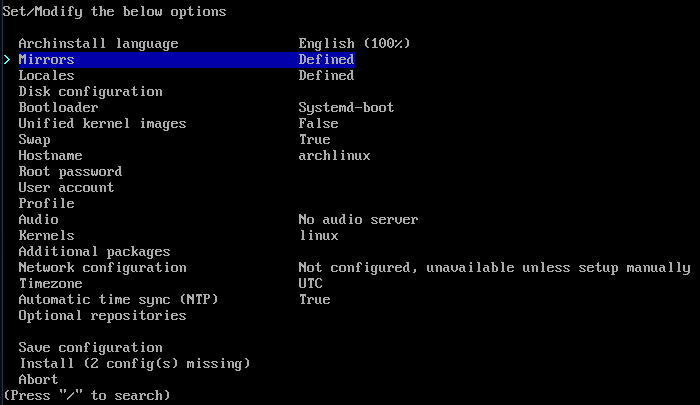
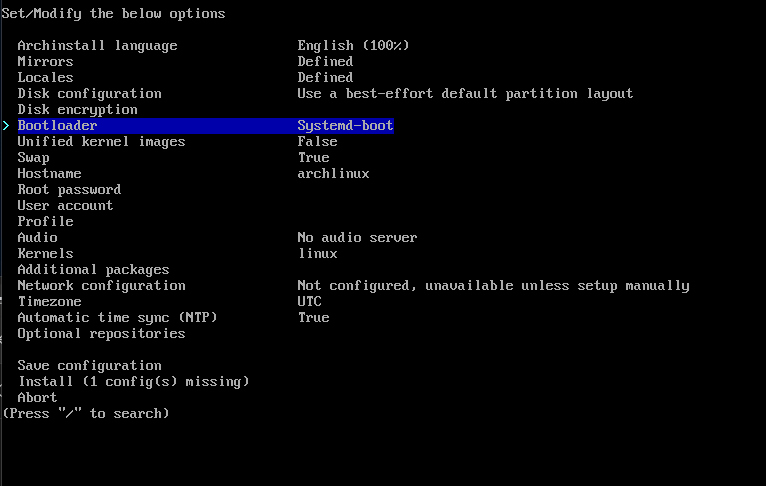
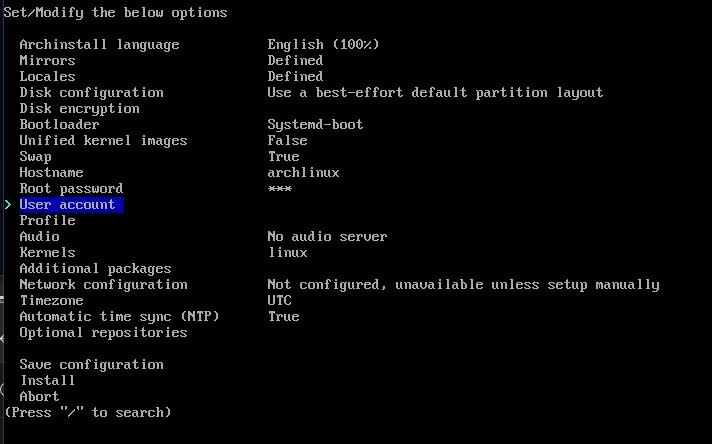
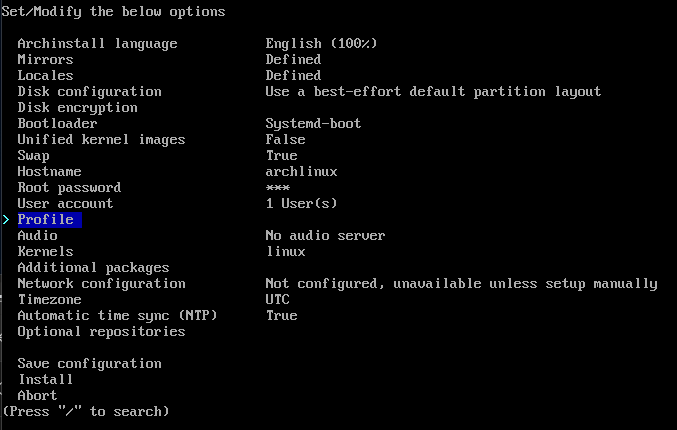
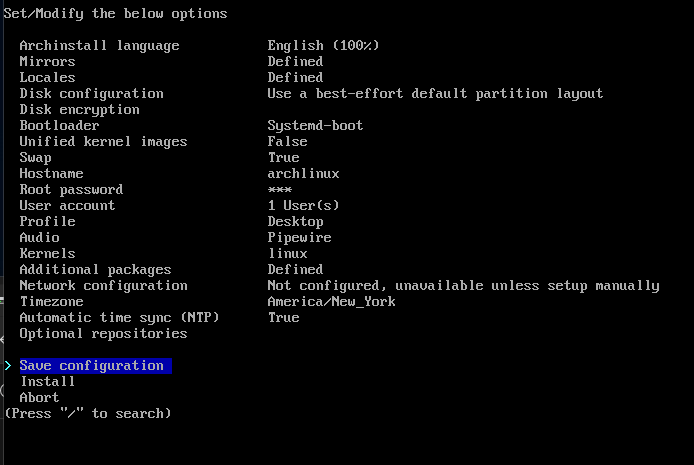
Set/Modify the below options
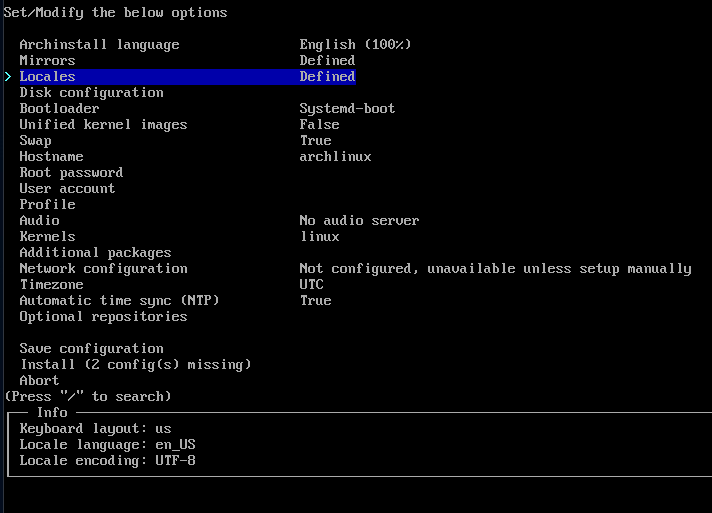
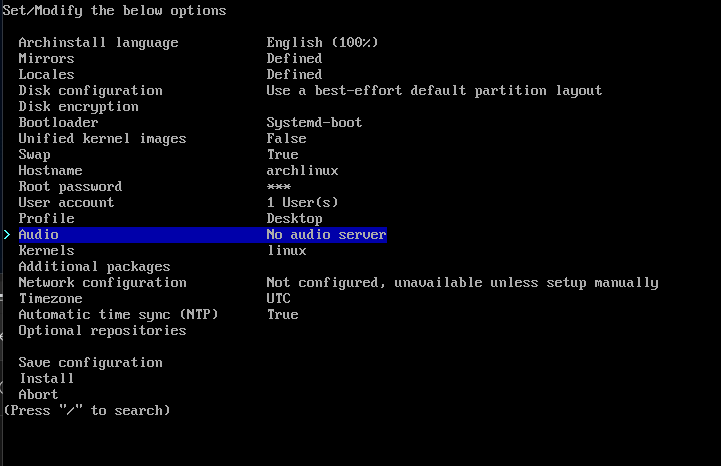
There are 18 options (19 after Disk configuration is set) that can be Set/Modify:

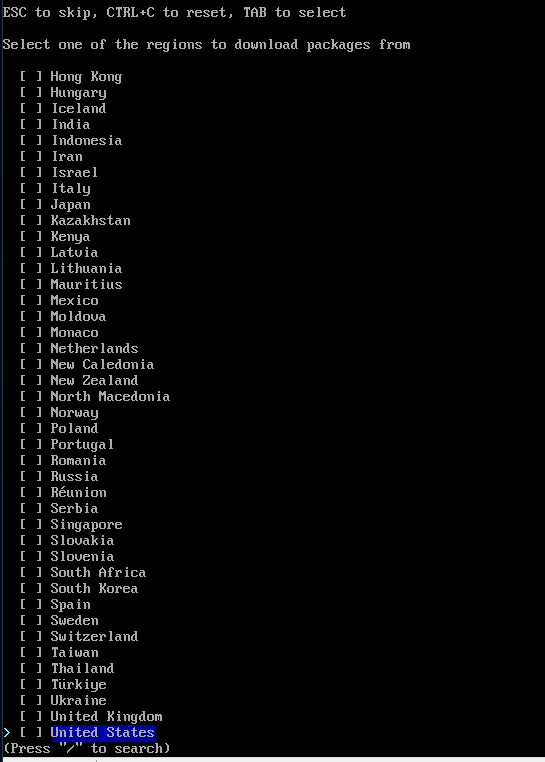
Some of those options are already set at the default, and I went with that option. Then there are the three at the bottom – Save configuration (or not), Install, or Abort. You’ll notice as I go thru the options and Set/Modify, that the installer moves to the next option, i.e., once Archinstall language it set, then it’ll move down to the Mirrors option:
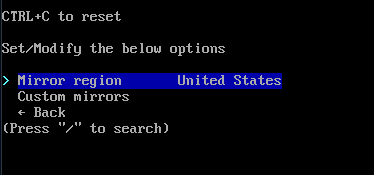
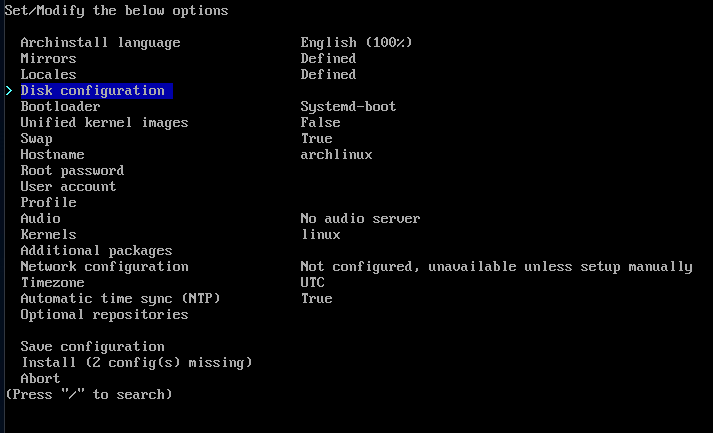
Locales are up next:
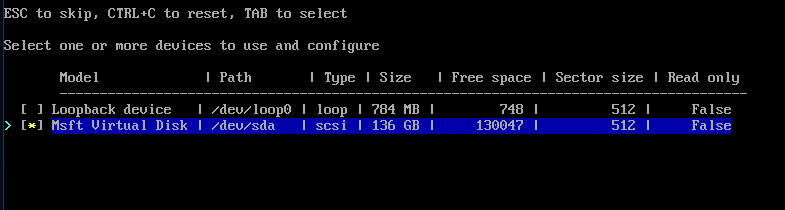
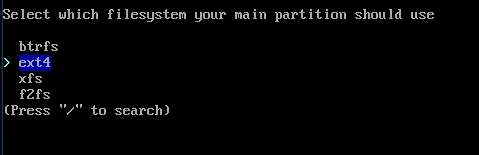
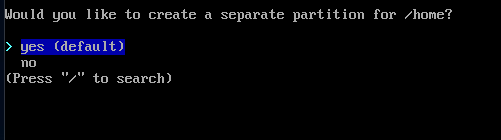
Disk configuration up next:
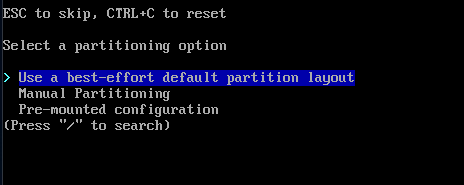
Disk encryption: There was also an option to setup an Encryption password at this stage, but I didn’t on either installation, and just selected Back option.
Bootloader option next:
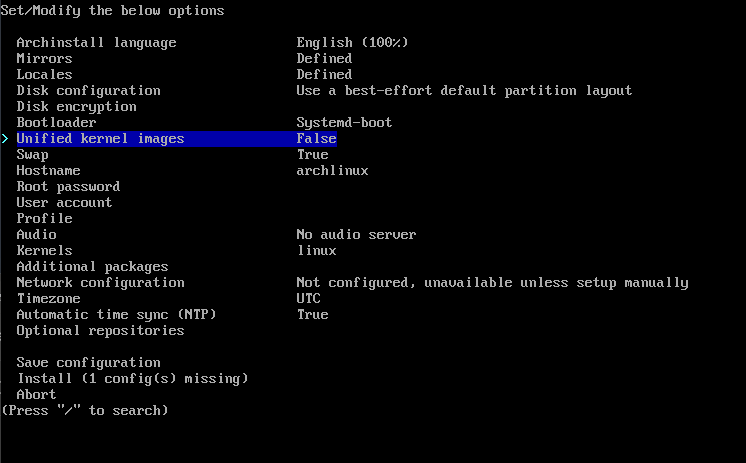
Unified kernel images is next: False is the “no (default)” option.
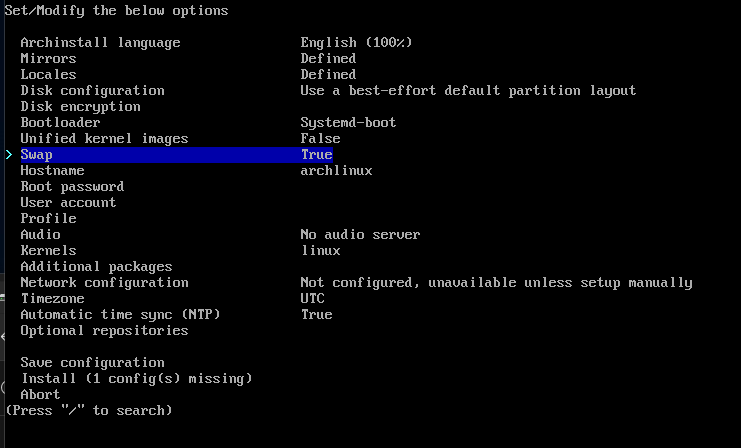
Swap is next: True is default option.
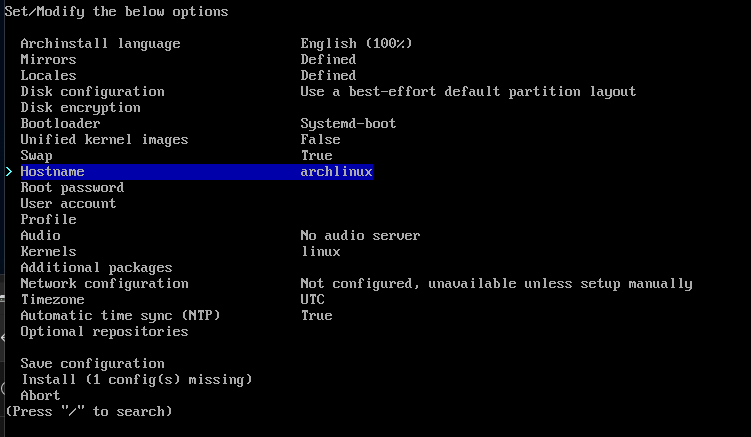
Hostname up next: archlinux is the default, but it can be changed to whatever you want…
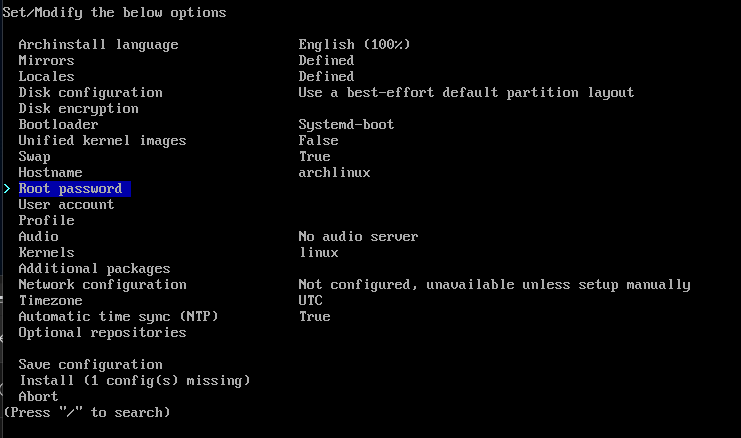
Root password is next:

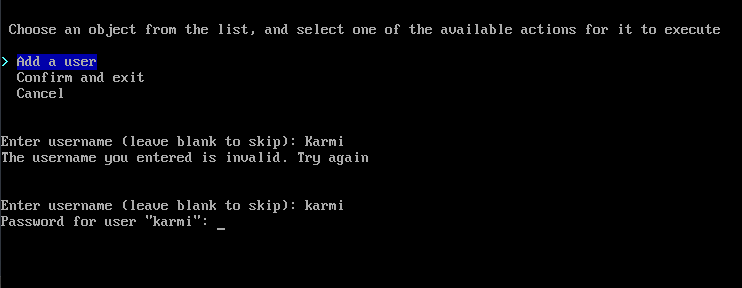
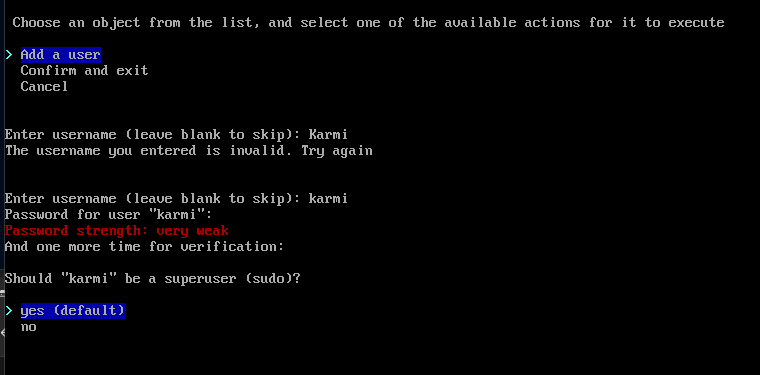
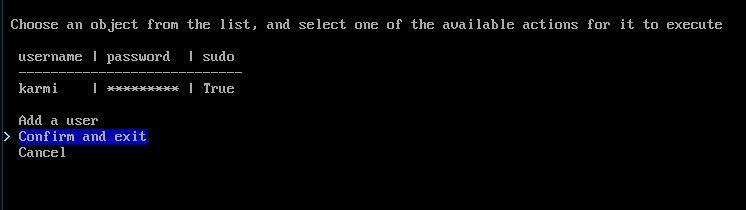
User account up next: I create a User account with Arch because they require it for some ‘Thangs…
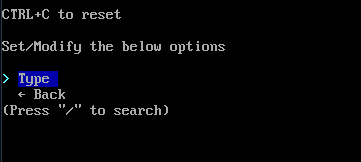
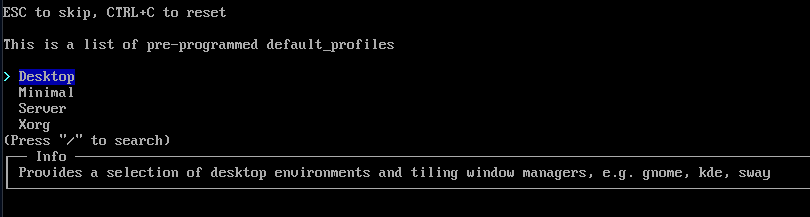
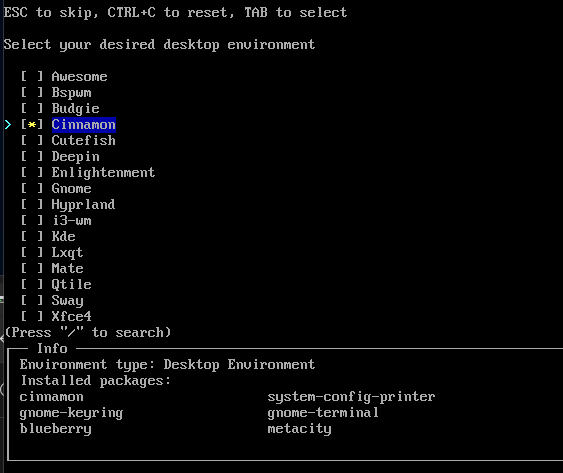
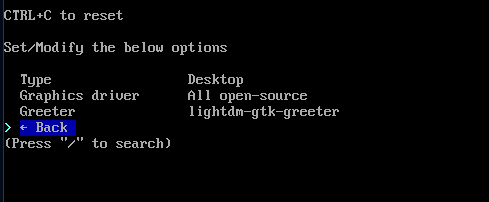
Profile up next: here’s where you get to pick a desktop environment (DE)…
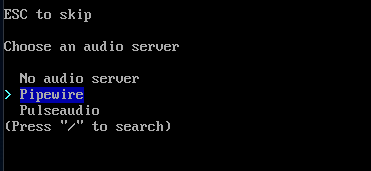
Audio up next:
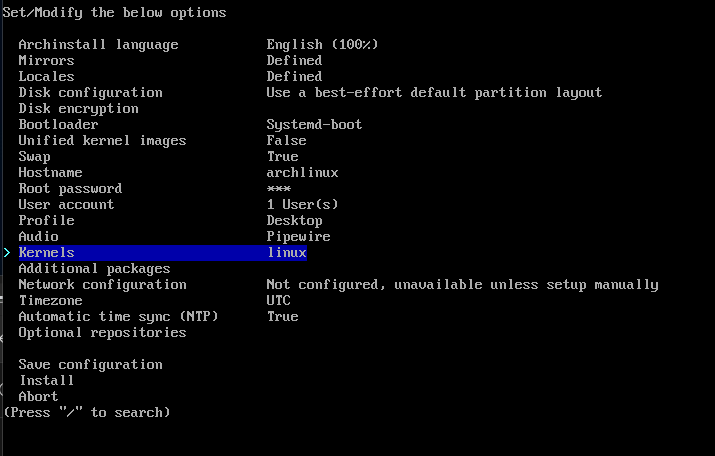
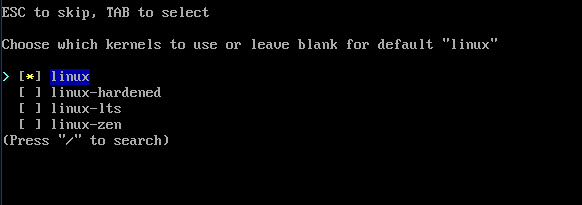
Kernels up next:
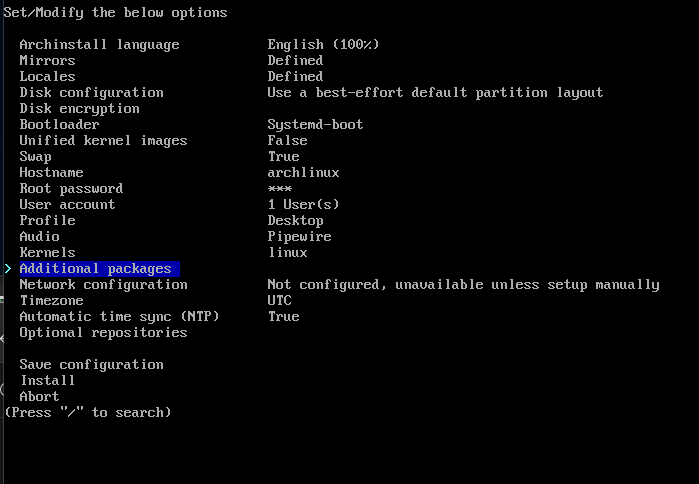
Additional packages is next: you can prep with Package Search. However, I only added firefox & gnome-disk-utility for the Hyper-V installation, but added a bunch of others after installation. Vanilla Arch Linux is a bare minimum OS until you add packages to it – firefox and a text editor like vim may be needed.

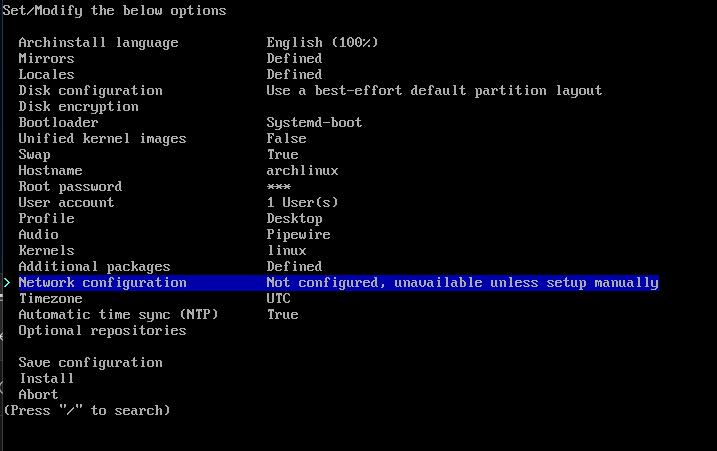
Network configuration is next: Have no clue how to set it up. I believe it was easier the last time. Anyway, I left it as is:
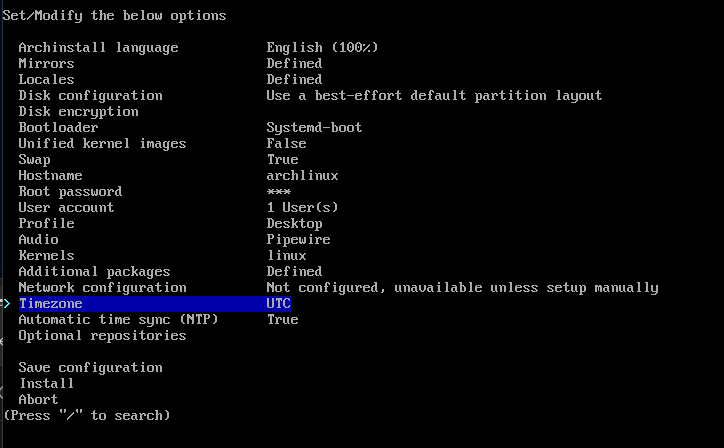
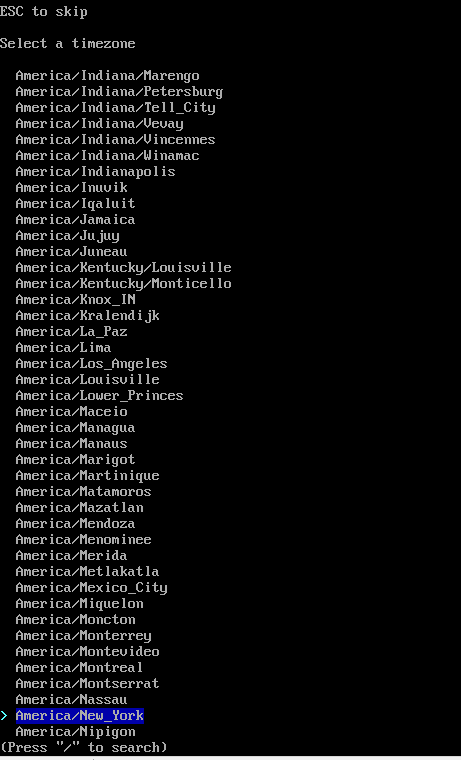
Timezone up next:
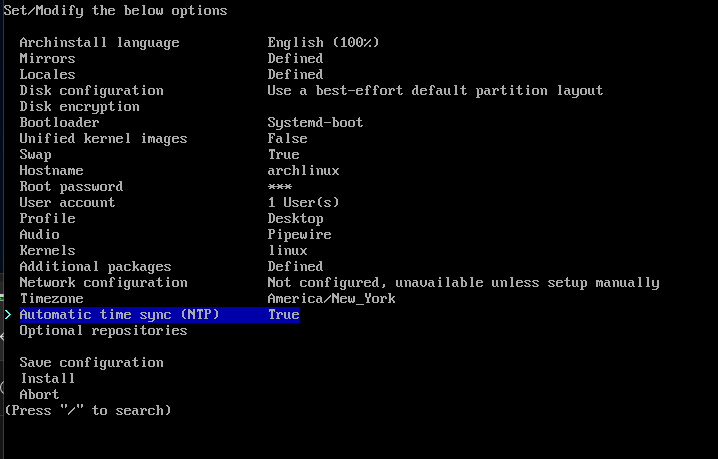
Automatic time sync (NTP) is next: default is “yes” equals True…
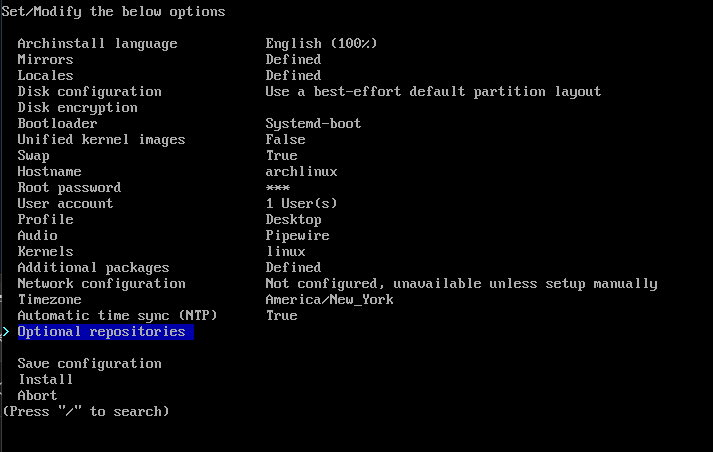
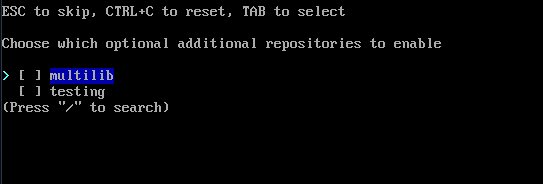
Optional repositories up next:
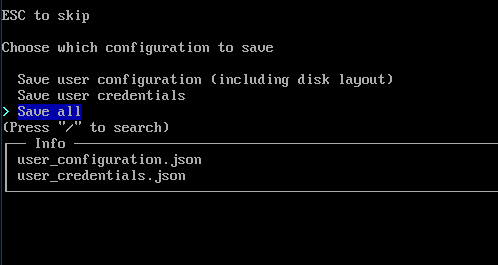
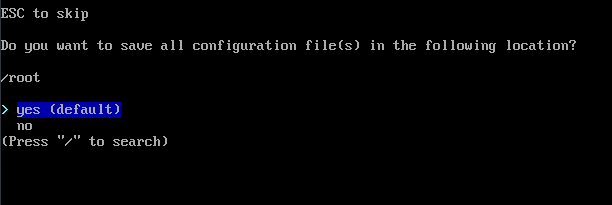
Save configuration is next:

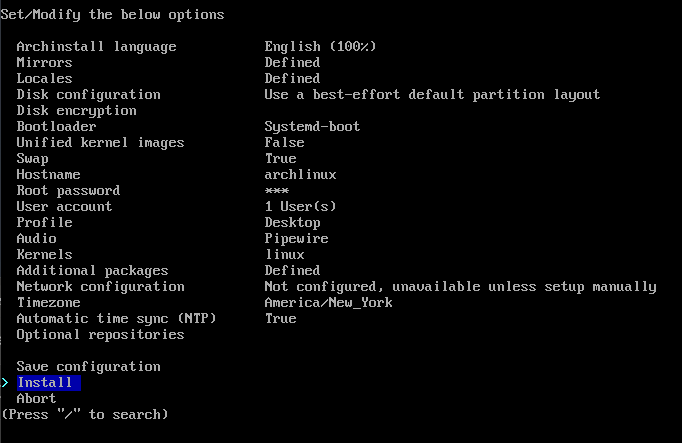
Install is finally here:
Post Installation
No internet?! Arch, it’s almost 2024 and your OS doesn’t even provide internet access for Ethernet connection in your archinstall installer!?! Internet with the archinstall installer, but no internet after installation!?!
That was one ‘Flaw’ outta two that I found post installation. Took some time, lots of ‘Hit & Miss’, but finally got it. Forgot to bookmark the one that worked…OOPS!
This just worked for me in another test:
- sudo pacman -S networkmanager (that installed Network Manager)
- sudo systemctl enable NetworkManager
- sudo systemctl start NetworkManager
I had done installs on two different test SSD’s, but had only tweaked one of them to get a fully working Arch OS. I would post links to those commands, but again, it required ‘Hit & Miss’ to find the right combo of commands to get the internet connection working.
Second flaw was the same as the last time I tested archinstall:
![]()
No icon for System Settings!? Never had that issue when I installed Vanilla Arch the old way – other issues for sure, since Arch is a buggy OS.
Here’s the GParted view of the “default partition layout” after installation:
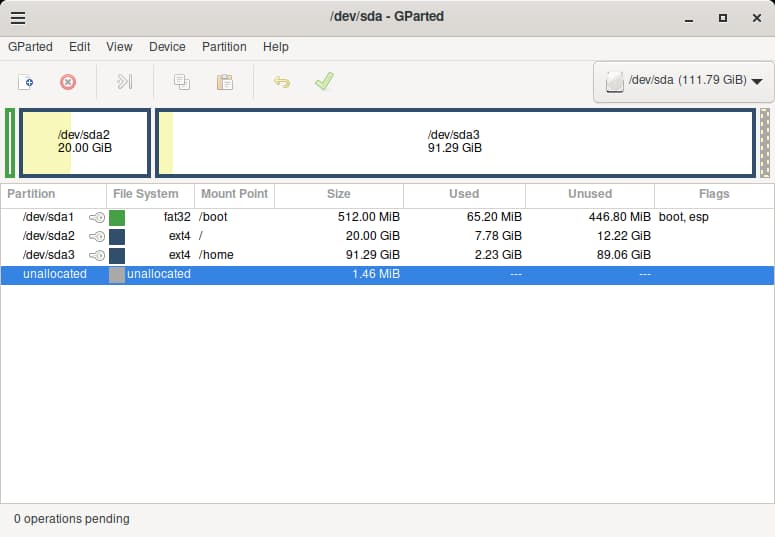
That worked fine. 👌👍
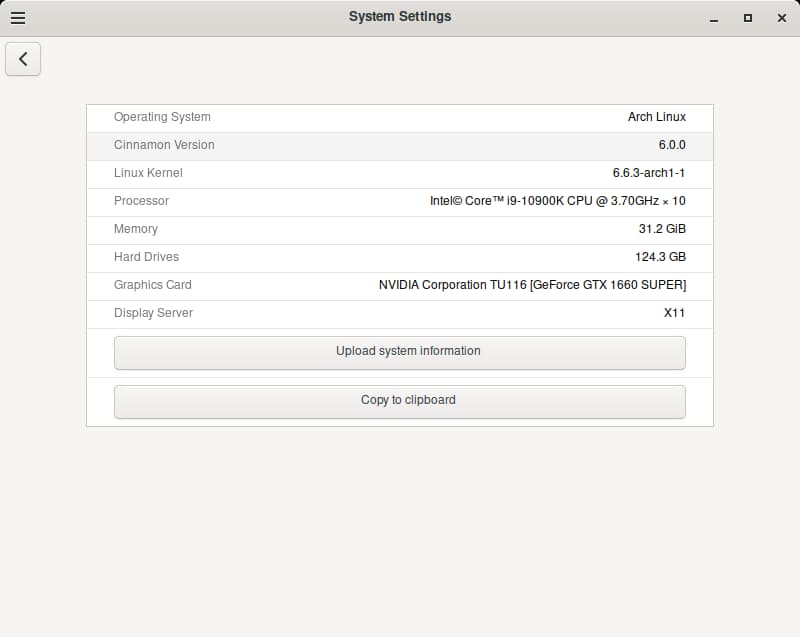
Here is the System info view:
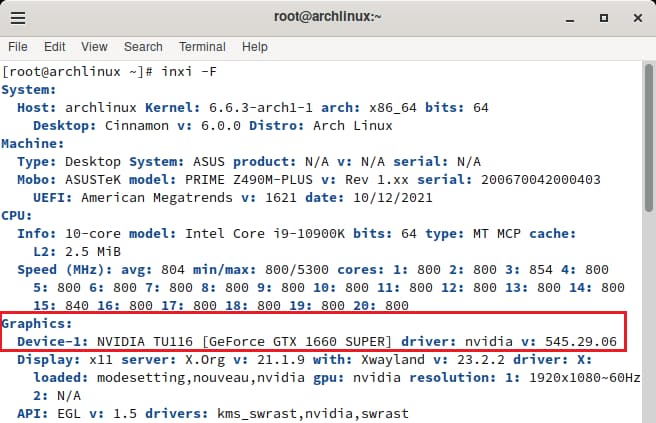
I added a Nvidia driver after installing the Arch GUI Software app:
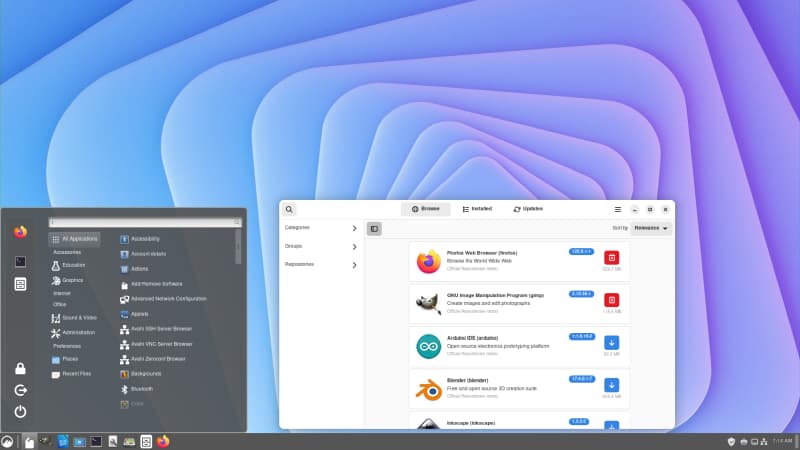
Here is the DE view after adding packages & tweaking it:
Conclusion
Still lots of adding & tweaking left, but Arch isn’t one of my main Linux OSes—Porteus & Fedora hold those positions in Tier One.
I was extremely impressed by archinstall – definitely the way to install Vanilla Arch if you’re wanting to see how it works. The two minor issues were problematic, and getting that missing System Settings icon fixed will probably require a lot of time and effort.
I login as root and here is how that is done:


Pics are terrible, but the phone camera is all I had…
I like how Arch developers have allowed both a root User & a standard User! 👍 To add the GUI Software package – I had to login as the standard User, but once added I could also use it in the root User section.
Great job by the Official Arch Linux developers!!!