
Now that your test site is up and running, it’s time to bring your new design to life. This stage of WordPress theme migration focuses on styling, layout, and final checks before your site ever goes public. Working inside Local keeps everything safe — you can experiment freely, compare results, and make adjustments without touching your live blog.
In this part, we’ll install the new theme GeneratePress, explore its customization tools, and test how your content looks under a fresh layout. The goal is simple: confirm that your posts, pages, and plugins display correctly, and that your site feels consistent across screens before you make any live changes.
Your Local test site now holds a complete copy of your real blog, ready for design experiments. In this part of your WordPress theme migration, we’ll switch from setup to styling — installing your new theme, applying color and layout choices, and making sure everything works before the site ever goes live.
Whether you’re using Local on one computer or a spare PC, the process is the same. You’ll see how the GeneratePress theme looks with your content, how to adjust its layout using the WordPress Customizer, and how to verify that plugins and widgets behave the way you expect.
Just remember that “copy” doesn’t mean “identical.” Every theme handles fonts, headings, and spacing a little differently. For example, in my case, the H3 headers that looked fine in Multipurpose Blog Pro appeared oversized in GeneratePress, so I changed them to H4 headers for better balance. These small adjustments are normal — part of learning how your new theme interprets your existing content.
Once you’ve completed these steps, you’ll have a fully styled test site that reflects your live blog’s content and structure while showing how your design will look under a new theme.
Opening Your Local Site
Before installing your new theme, start by opening the test site you created in Local. Launch the Local app on your computer and look for your site name in the list on the left. If you followed Part 2 of this series, you might have called it something like Theme Test 1.
Click the site name, then select Open Site to view it in your browser. You can also click Admin to go straight into the WordPress dashboard. Either way, you’ll see the familiar WordPress login screen. Enter the username and password you chose earlier, then click Log In.
Once you’re logged in, you’re inside your Local version of WordPress — a safe testing environment that looks and behaves just like your live site. From here, you’ll install the new theme and begin customizing its appearance.
Installing GeneratePress for Your WordPress Theme Migration
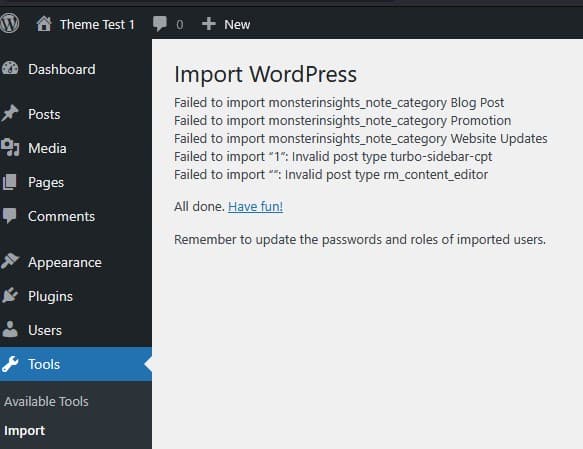
Before you add the new theme, check that your content import finished successfully. If you see a few notices like “Failed to import monsterinsights_note_category” or “Invalid post type turbo-sidebar-cpt”, don’t worry — those simply refer to plugin data or custom post types that aren’t active in your Local setup.
This screen confirms your main posts, pages, and media imported correctly and that your Local copy is ready for theme testing. Once you see the “All done! Have fun!” message, you can move forward with confidence — the foundation of your WordPress theme migration is now solid.
After confirming your import finished successfully, the next step in your WordPress theme migration is to install — or activate — your new theme.
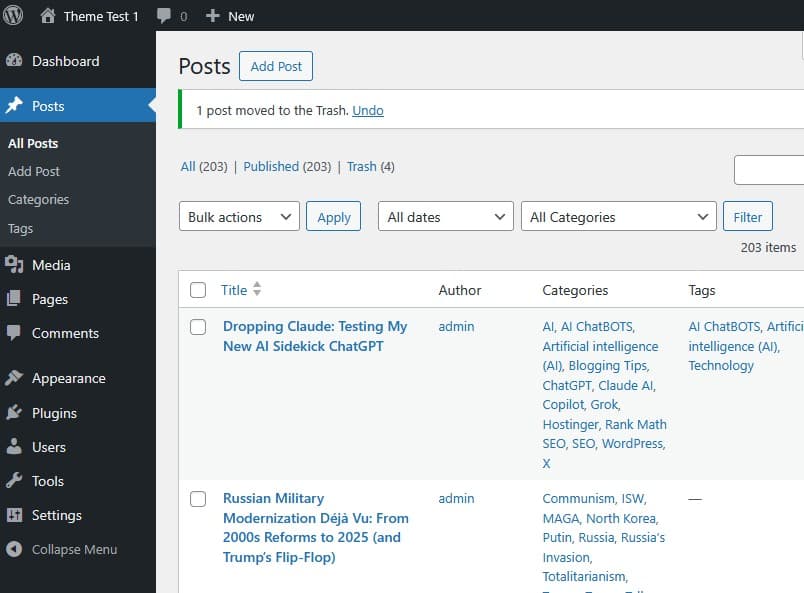
Check that your posts imported correctly
From Local, click the WP Admin button in the upper right to open your test site’s WordPress Admin Dashboard in the browser. Once there, go to Posts → All Posts. You should see your full list of imported posts along with the total count near the top of the screen.
Also check Pages and Media
While you’re here, click Pages → All Pages and Media → Library to make sure your static pages and uploaded images were imported correctly. It’s normal for everything to look plain under the new theme, but confirm that your content — text, images, and attachments — all made the move.
Open the Themes page
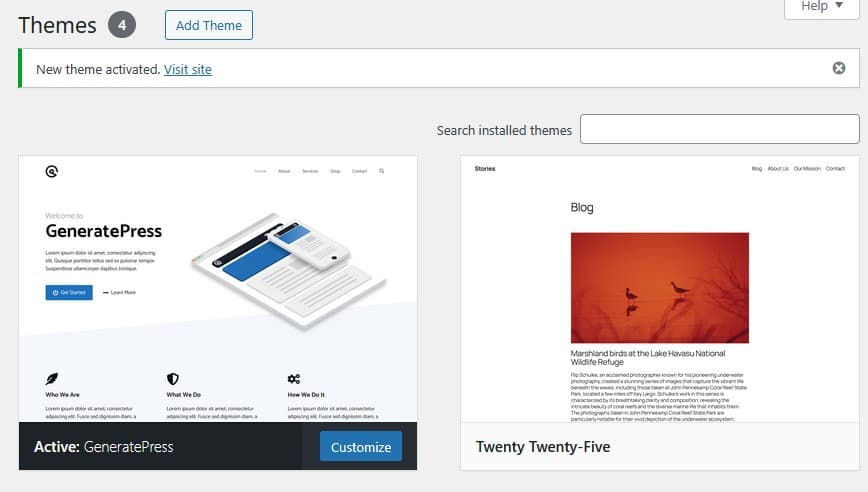
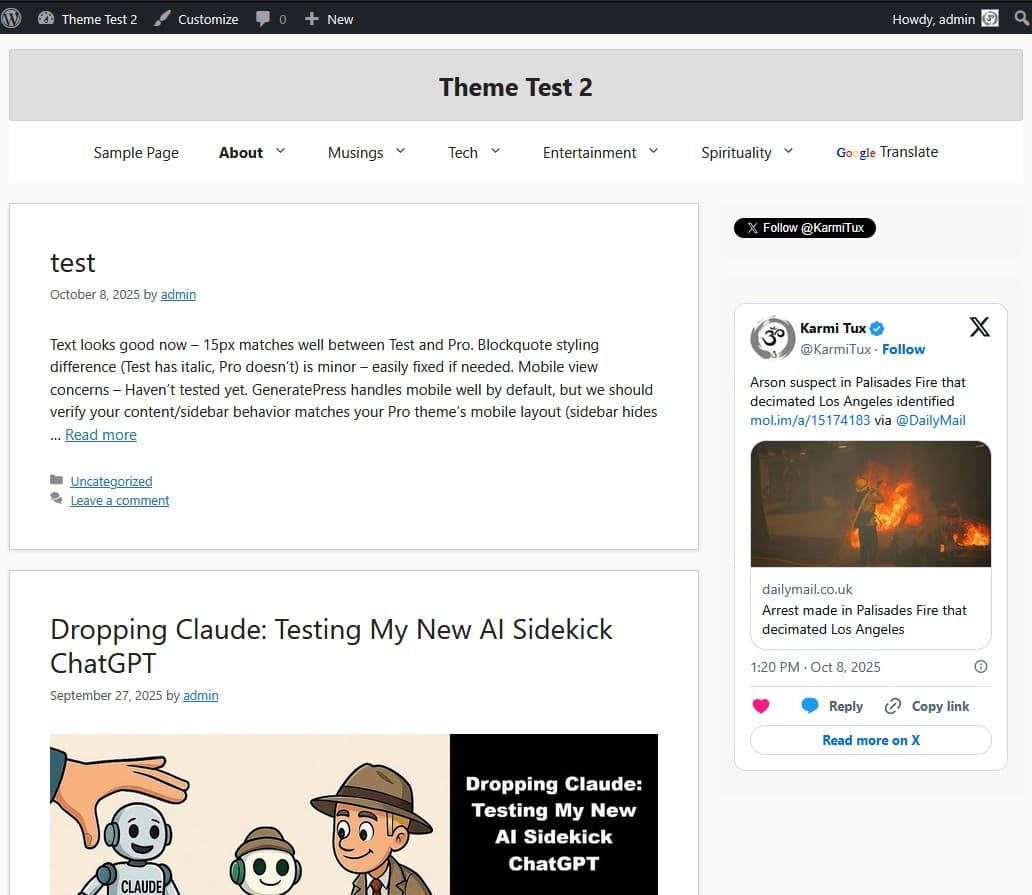
In your WordPress Admin Dashboard, select Appearance → Themes. You’ll see the default WordPress theme (usually Twenty Twenty-Five) active on your Local site.

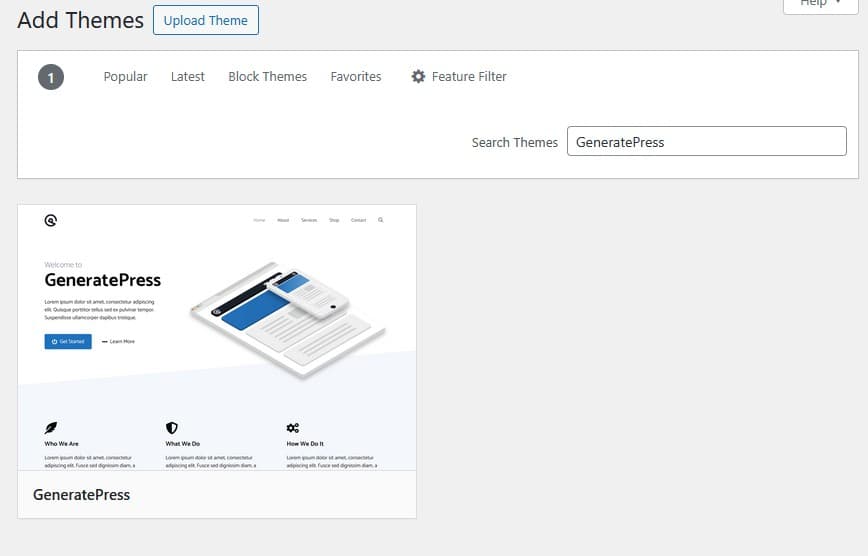
Search for GeneratePress
The Add Themes page opens with a search box in the upper-right corner. Type GeneratePress into the “Search themes…” field to locate it.
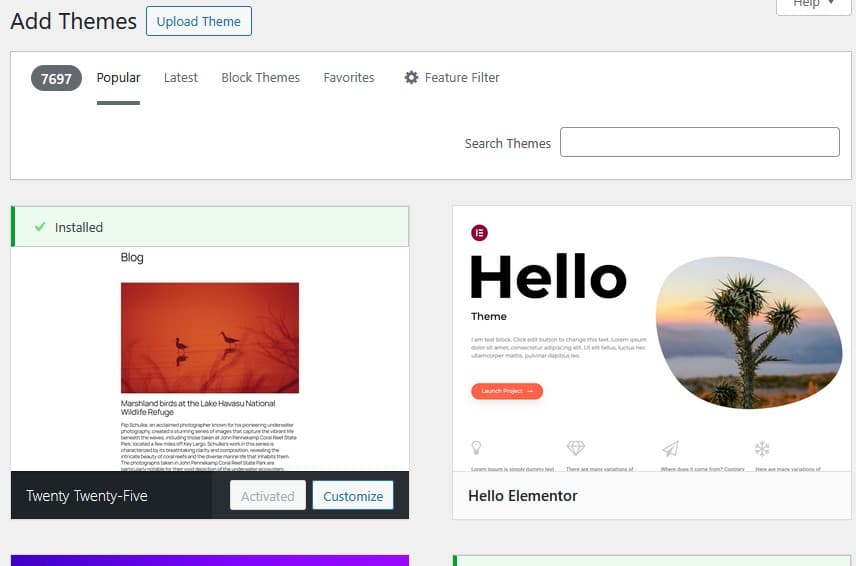
WordPress filters the results and displays the GeneratePress card.
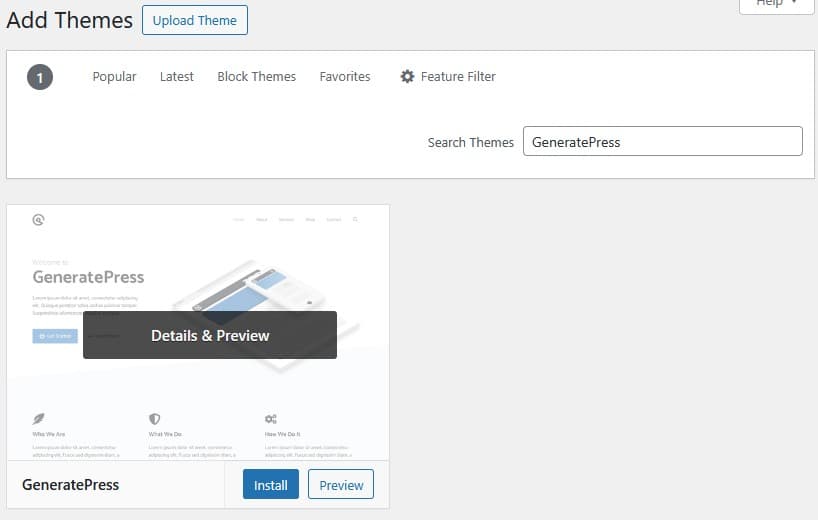
Install and activate the theme
Hover over the GeneratePress card to reveal the Install button, then click Install. Once installation completes, click Activate to make it your current theme.
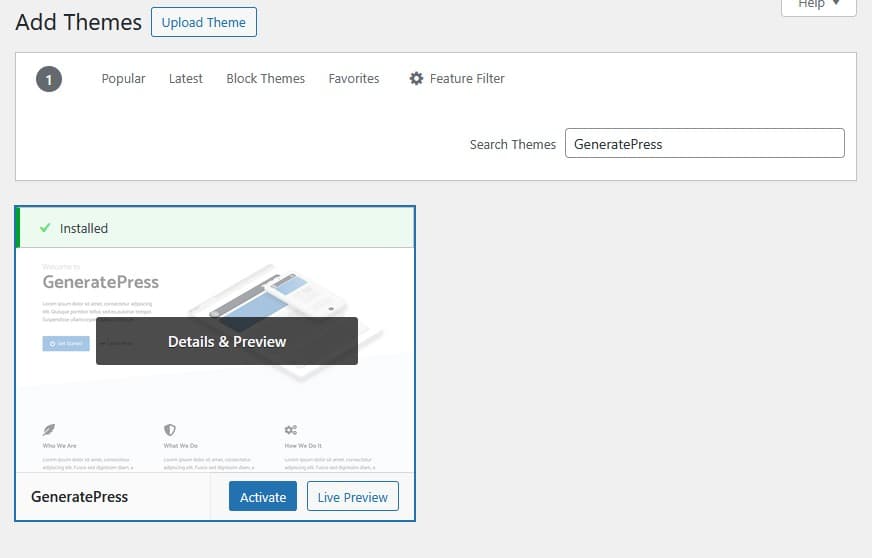
When activation finishes, GeneratePress appears as the active theme at the top of your Themes page.
Previewing Your WordPress Theme Migration Baseline
Now that GeneratePress is active, it’s time to see what your site looks like before making any styling changes. This step helps you identify what carried over correctly from your old theme and what needs adjusting.
From your WordPress Admin Dashboard, click View Site in the top toolbar. The homepage opens in your browser, showing your content under GeneratePress’s default layout.
You’ll notice that the page looks simple — black text, white background, and minimal spacing. Don’t be alarmed; this is normal for a new theme’s default state. The idea is to start from a clean, neutral foundation so you can rebuild your style intentionally.
Take a few minutes to scroll through your pages and posts. Check that everything displays properly and note any differences, such as:
- Headings that look larger or smaller than before
- Images that align differently or captions that don’t fit neatly
- Sidebar widgets or footer items appearing in unexpected places
Each theme applies its own rules for spacing, fonts, and colors, so variation is expected. What you’re seeing now is the “unstyled baseline” — your content before you apply your custom adjustments.
Once you’ve reviewed this preview, you’ll move into the fun part: shaping the layout, colors, and typography to match your vision.
Customizing the Theme
With your unstyled baseline in view, it’s time to start shaping the look and layout of your GeneratePress theme. This is the stage where your Local test site begins to feel like your blog again — familiar colors, structure, and personality start to return.
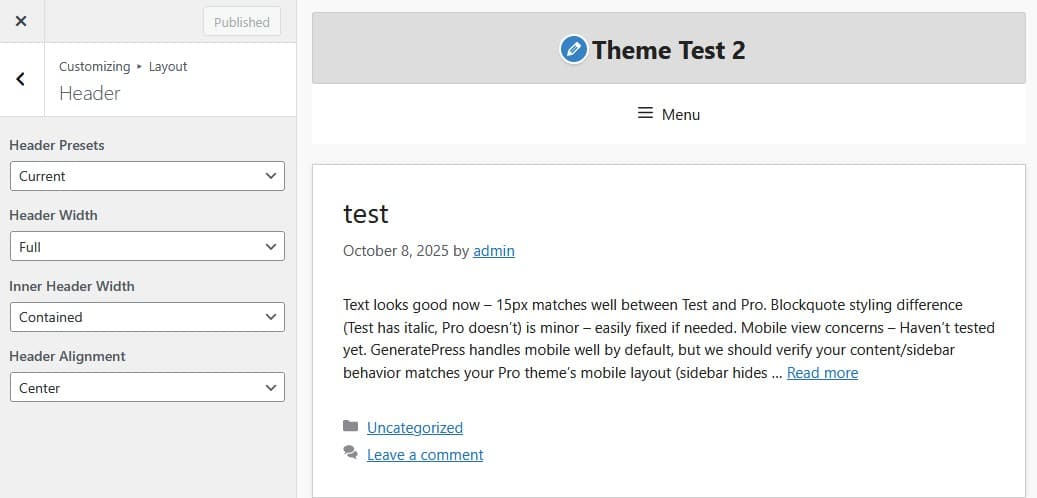
From your WordPress Admin Dashboard, go to Appearance → Customize. The WordPress Customizer opens, letting you preview every change instantly as you make it.
Compare this view to Pic 23 and you’ll notice the first big transformation. The site title has moved from the left to the center of the header, now resting in a soft gray background area that gives the top of the page more definition. Just below it, the page navigation row appears cleaner and more structured, while lighter gray backgrounds help frame your main content area. These simple layout and color changes create a balanced, easier-to-read design — the first real step in making the theme your own.
Inside the Customizer, explore the sidebar options to adjust key elements:
- Site Identity: Set your title, tagline, and upload your logo.
- Colors & Typography: Adjust your color palette, text size, and heading styles.
- Layout: Control container width, sidebar position, and footer widget layout.
You’ll see each change appear immediately in the preview window. At the bottom, switch between desktop, tablet, and mobile icons to test how your design adapts to different screens.
If you used a more feature-heavy theme like Multipurpose Blog Pro, some elements will look different — headings may scale differently, widgets might have new spacing, or image areas might feel simpler. That’s expected. Each theme uses its own design rules.
Now’s the time to rebuild the essentials: recreate your menus under Appearance → Menus, restore sidebar widgets, and update your footer layout under Widgets → Footer.
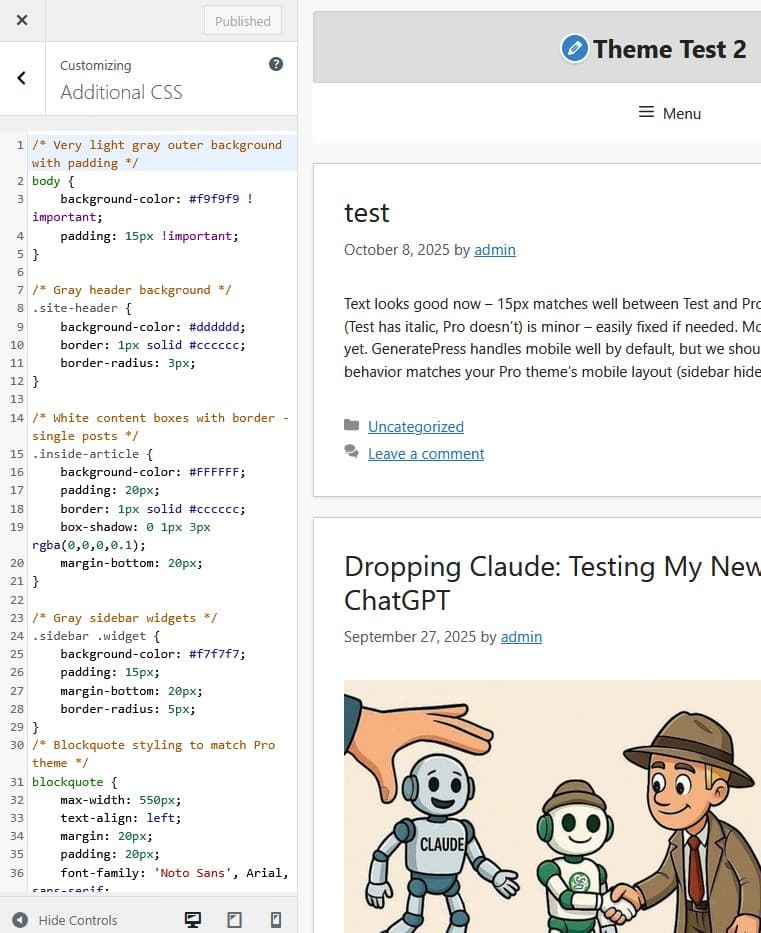
For fine-tuning, open Additional CSS in the Customizer sidebar. Even a few short lines can make a big difference — tightening margins, adjusting button alignment, or refining font weight.
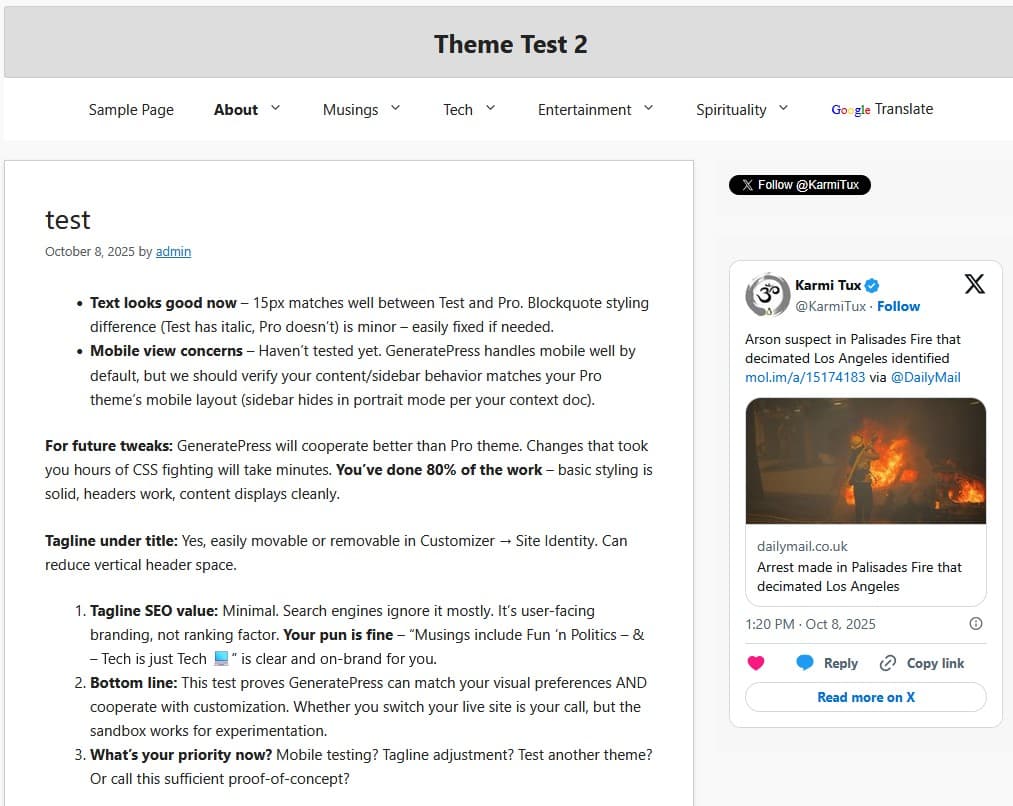
Most of us humans don’t speak fluent CSS (and that’s perfectly fine). This is where having an AI coding helper like Claude or ChatGPT can really shine. In my case, Claude actually wrote the CSS you see in the example below, so don’t hesitate to ask an AI for help when you need small design adjustments. You’ll still make the creative calls — the AI just handles the tricky syntax.
When you’re happy with how everything looks, click Publish to save your changes. Because you’re still working in Local, none of this affects your live site — it’s all safe to test and refine as much as you like.
Testing Your Theme
Now that your GeneratePress design is taking shape, it’s time to make sure everything works as expected. This testing phase is one of the most important steps in your WordPress theme migration. It’s where you confirm that your content, plugins, and layouts all play nicely together before anything ever touches your live site.
Start by clicking Visit Site from your WordPress dashboard to open the homepage in your browser. Look at your posts, pages, and widgets with fresh eyes — not just to admire your design, but to test how your content behaves inside the new layout.
Take a few minutes to work through this quick testing checklist:
- Formatting: Make sure headings, paragraphs, blockquotes, bullet lists, and numbered lists display properly.
- Images: Check alignment and captions. Resize the browser window to confirm images adapt responsively.
- Widgets and Menus: Verify sidebar items, footers, and navigation menus all appear where you expect.
- Plugins: Open key pages that rely on plugins (like contact forms, social icons, or galleries) to ensure everything still functions.
Switch between desktop, tablet, and mobile views again to make sure your layout adapts smoothly on different screens. (You’ll find these icons along the bottom of the Customizer panel — see Pic 26 for reference.) GeneratePress’s lightweight design usually handles this well, but it’s worth checking font sizes, spacing, and menu placement manually.
If you see small styling quirks — like a button sitting too close to an image or a font that feels off — jot them down. Those can be adjusted easily in the Customizer or through your Additional CSS section.
This is also where AI can be surprisingly helpful again. You can describe what you see (“my sidebar is too narrow on mobile” or “my blockquote text is off-center”), and ask ChatGPT or Claude for a short CSS rule to fix it. Test it in Local first, and keep notes on what you change.
When you’re satisfied that everything looks right and behaves smoothly, you’re ready for the final stage — preparing to go live with your new theme.
Documenting & Saving Your Work
Before closing out your Local testing session, take a few minutes to document your changes. Future-you (and maybe your AI sidekicks) will thank you later.
Start with simple screenshots — capture your key pages, widgets, and menus after customization. These serve as visual bookmarks you can refer back to if you ever rebuild or tweak your theme again.
If you’re using GeneratePress Premium, you can also export your theme settings. Go to Appearance → Customize → Export/Import and click Export to download a .json file. This file safely stores your design layout, colors, and spacing settings — everything you just built — so you can restore or share it easily later.
You can also keep a brief change log — even a small text document noting what you adjusted and why. List things like:
- “Moved site title to center of header”
- “Added gray background to main container”
- “Adjusted sidebar width for X feed integration”
This record helps you remember what worked (and what didn’t) once you go live.
If you used an AI to assist with CSS or layout, it’s also worth saving the chat snippets or prompt notes. Those are part of your creative process now, and revisiting them later can help you evolve your theme without reinventing the wheel.
When you’ve saved everything, take one last scroll through your Local test site. At this point, your design should look cohesive, readable, and ready for public viewing.
What’s Next
As you step out of the safety of your Local sandbox, next up is Part 4 — WordPress Theme Migration with Local: Going Live with GeneratePress. If that stage feels familiar, that’s no accident. You’ll be repeating much of what you’ve already mastered — but this time, it’s Déjà vu with consequences as your private test site becomes your live, public blog.
Links to Other Parts