
Thinking about changing your WordPress theme but worried about breaking your site? WordPress theme migration doesn’t have to be stressful or risky. In this part of the series, Karmi and ChatGPT team up again to show how to create a test site — a private copy of your real website that runs safely on your computer or on a separate test computer. Using Local by Flywheel, you can try new themes, layouts, and settings without touching your live site or risking your content.
Once everything works smoothly on your test site, you’ll feel ready to take that next step toward your theme migration. Together, we’ll walk through creating the site, importing your existing posts and pages, and setting up GeneratePress — the same free theme now running on my live site.
Before You Begin: Safe Preparation
Creating a System Restore Point (Windows)
Windows doesn’t always create restore points automatically before you install new software or hardware. It can, but only if System Protection is turned on for your drive — and many users don’t realize when it’s off. Even when it’s enabled, restore points are usually made only during major updates, not for everyday apps like Local by Flywheel.
That’s why it’s smart to manually create a restore point before installing or running Local (or any new program). It only takes a minute and lets you roll your computer back if something acts up later.
If you’re on a Mac or another system, just use your normal restore or backup tool.
Backing Up Your WordPress Site
While you’re in a safety mindset, it’s also wise to back up your live blog before copying or exporting content. Some hosts, like WordPress.com’s paid plans, back up automatically. Others — especially self-hosted WordPress sites — may only let you back up manually or on a schedule. Check your host’s settings, and make sure you have at least one fresh site backup before moving content.
Backing Up Your Computer
If you prefer extra peace of mind, you can also create a full system image using Windows’ Backup and Restore (Windows 7) tool before starting your WordPress theme migration. This ensures that your files and settings can be fully restored if something ever goes wrong on your test or local system.
Once both your computer and your blog are safely backed up, you’re ready to create your test site in Local and continue your WordPress theme migration with confidence.
Creating Your Local Test Site for WordPress Theme Migration
Creating your test site is where the hands-on part begins. You’ll open Local by Flywheel and build a full copy of your existing WordPress setup. It’s quick, visual, and far less technical than it sounds.
For this guide, I’m working alongside ChatGPT — part of an ongoing experiment in practical AI collaboration (AI Collaboration). Together, we’re taking on what can look like a daunting task for many beginners, proving that even a novice and an AI can handle a full WordPress theme migration and turn the experience into a usable step-by-step guide for others.
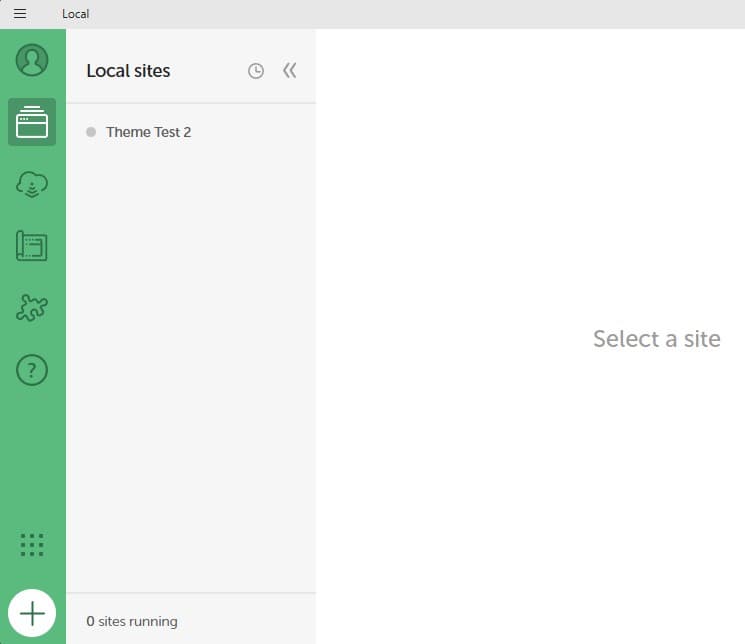
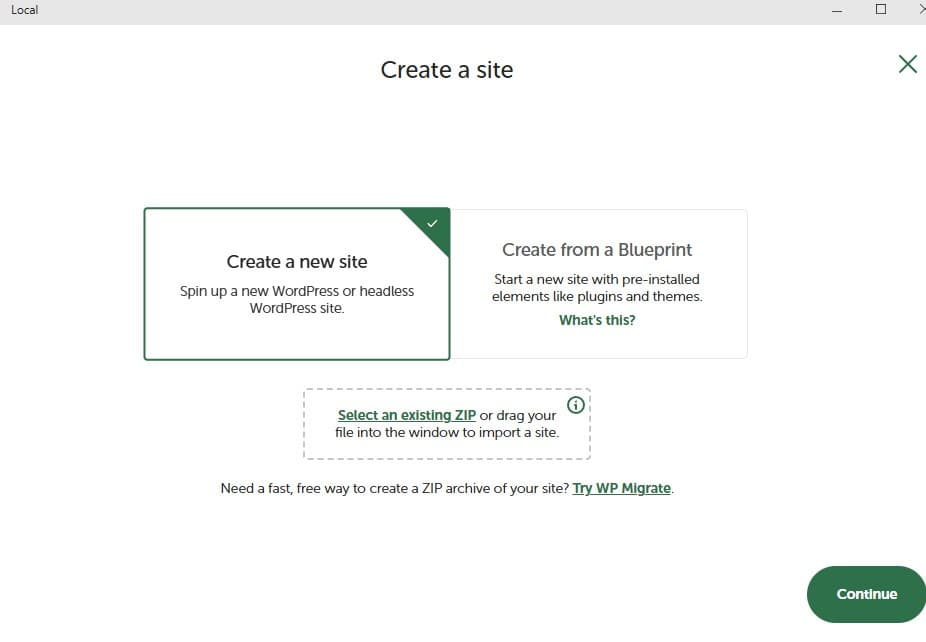
With your computer prepped and ready, open Local and click the green + button to create a new site.
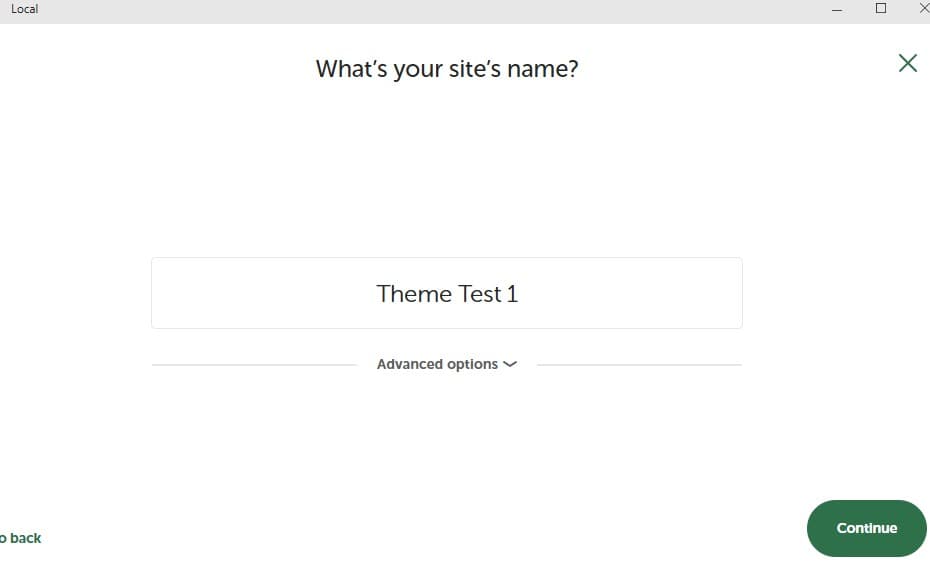
When prompted, choose Create a new site and give it a simple name such as Theme Test 1.
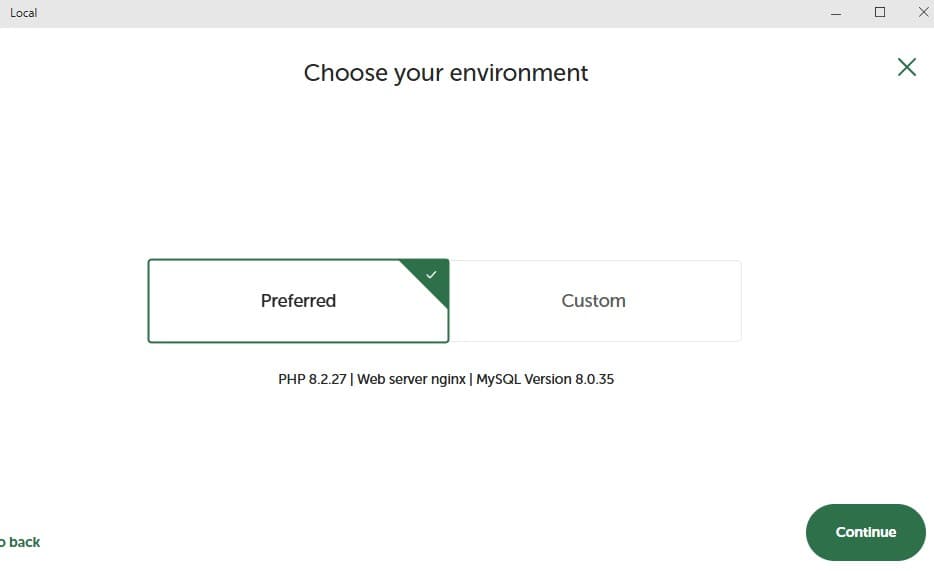
Next, you’ll choose your environment. Local will show two options, Preferred and Custom. Go with Preferred — it’s ready to use, fast to set up, and perfect for theme testing. (Custom is mainly for developers who need to match a specific PHP or MySQL version.)
You’ll then set your WordPress login details. Use something easy to remember, since this site is only for testing. A typical setup might be:
- Username: admin
- Password: test123
- Email: your own email address
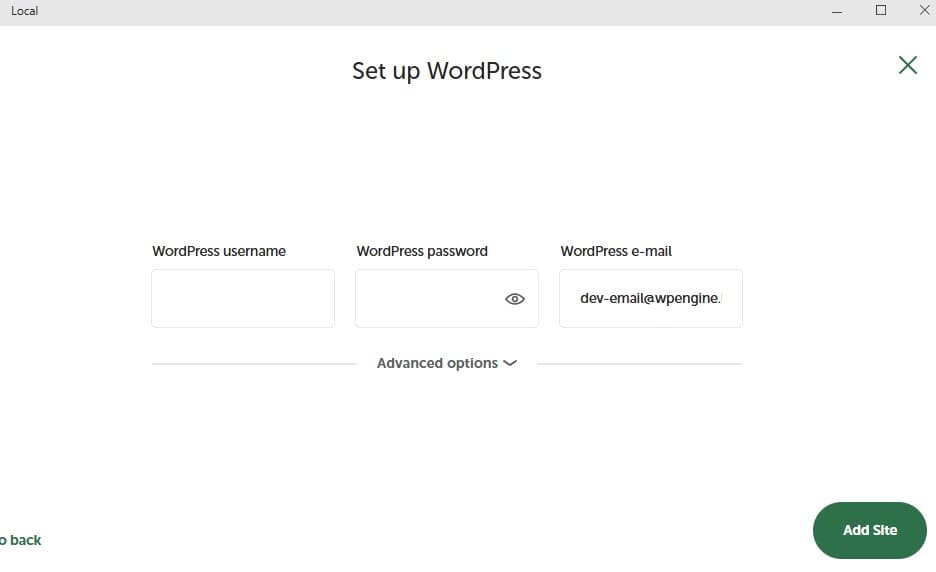
Click Add Site, and Local will create a fresh WordPress installation on your computer or test computer.
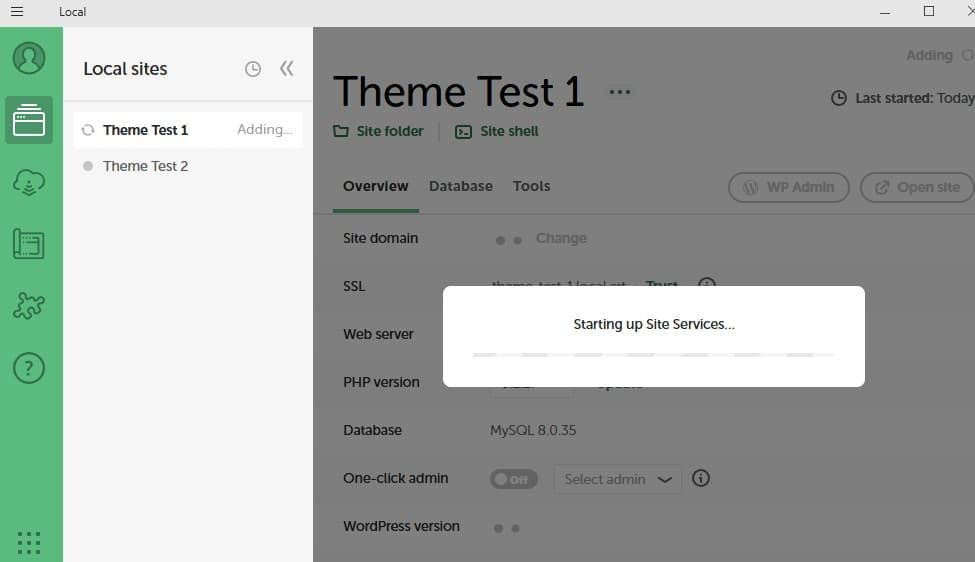
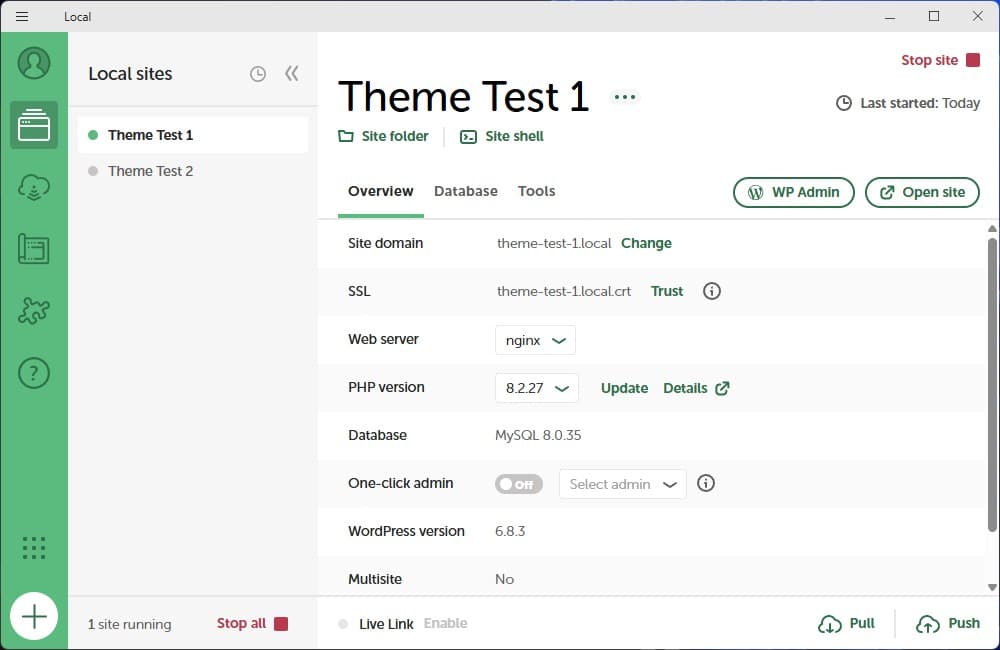
Once Local reports your site is ready, you now have a safe, local environment — a complete WordPress installation running privately on your system, ready to import your real content in the next step of your WordPress theme migration.
Exporting Your Live Content
With your Local test site ready, it’s time to bring in your real posts, pages, and media. This is a simple export from your live WordPress site — no changes, no risk. You’re just making a copy to use during your WordPress theme migration.

- From your live site’s dashboard, go to Tools → Export.
- Select All content, then click Download Export File.
- Save the XML file to your computer — it’s usually a few MB depending on your site size.
If your browser doesn’t show a confirmation window, check your Downloads folder to be sure the file saved. This process doesn’t affect your live site; it only creates a portable copy of your content.
Opening Your Test Site in Local
In the Local app, click WP Admin next to your new site’s name.
Your browser will open the WordPress login screen.
Use the credentials you set earlier (admin / test123).

Importing Your Content
Now that you’re logged in to your Local WordPress dashboard, it’s time to bring in your real posts, pages, and images — the same content from your live site. This makes your test site a true working copy for your WordPress theme migration.
From your dashboard, go to Tools → Import.
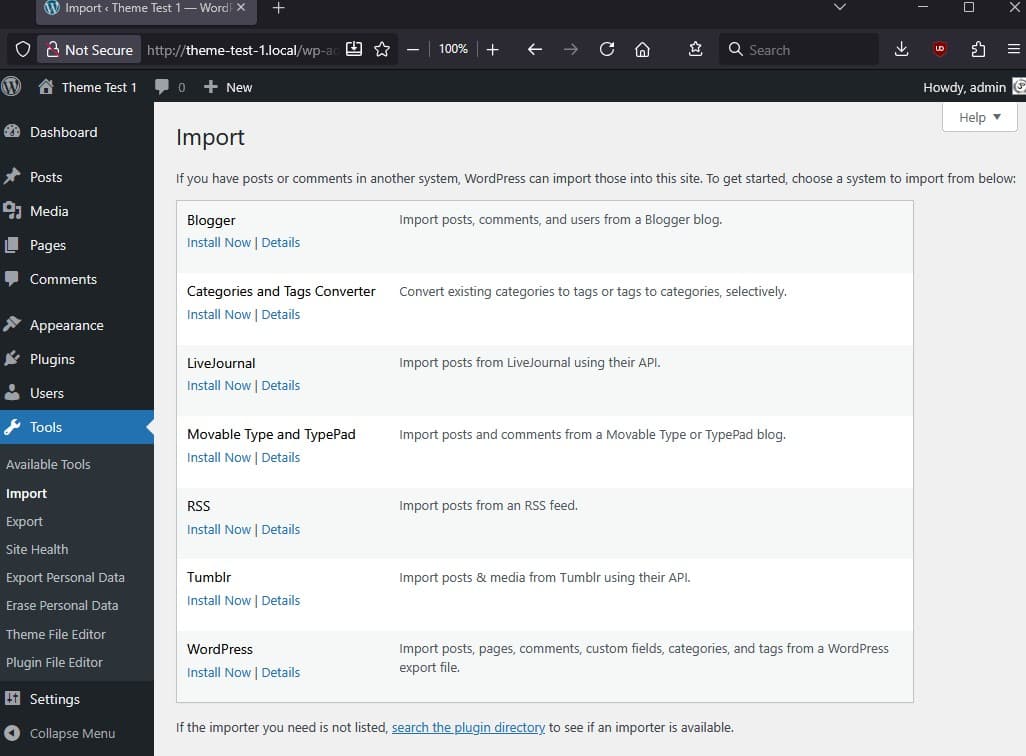
You’ll see a list of importer tools for different platforms. Scroll down to WordPress and click Install Now. This adds the official WordPress Importer plugin, which you’ll use to bring in your content.
After installation, click Run Importer to open the upload screen.
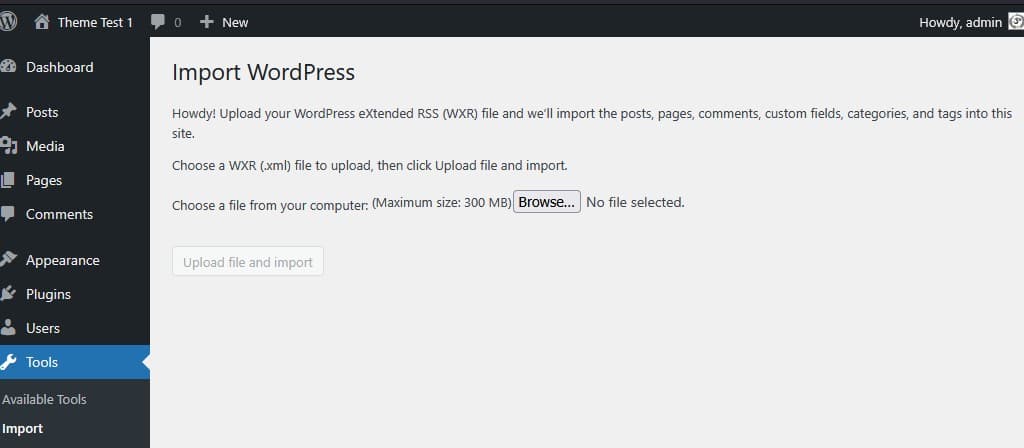
Click Browse (or Choose File) and navigate to your Downloads folder.
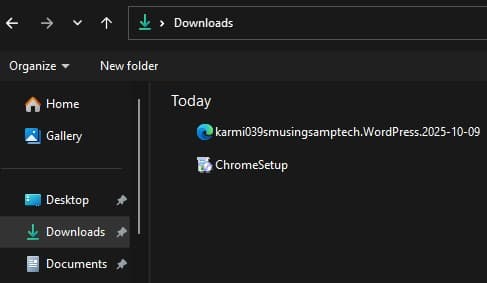
Select the export file you created earlier — it should end in .xml.
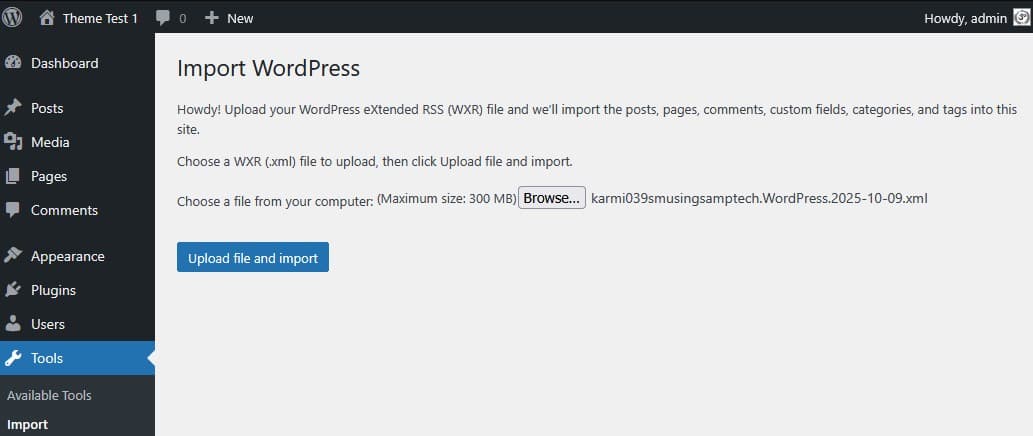
Click Upload file and import. When prompted, you’ll see options to assign posts and import attachments. Choose your existing admin user as the post author.
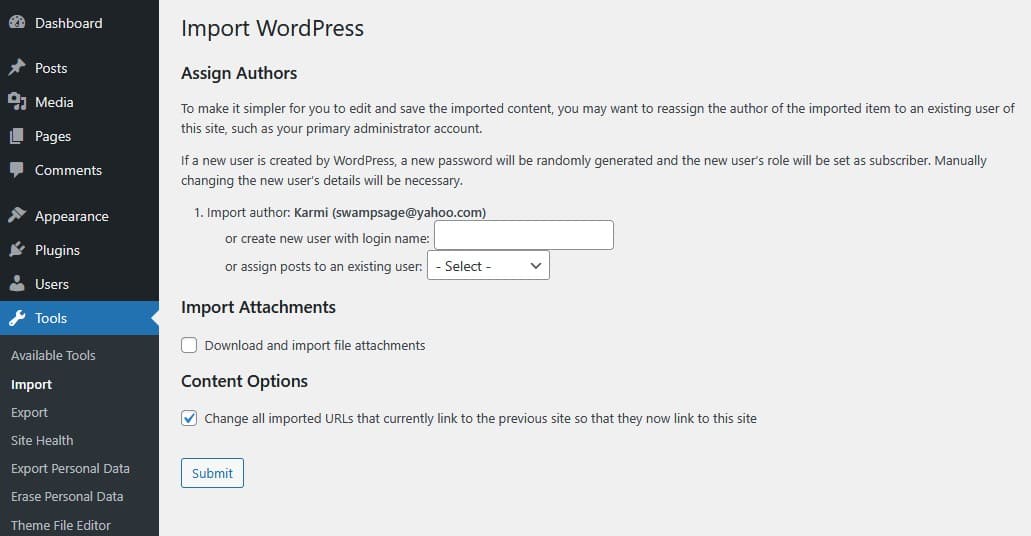
Check Download and import file attachments to include images and media from your live site.
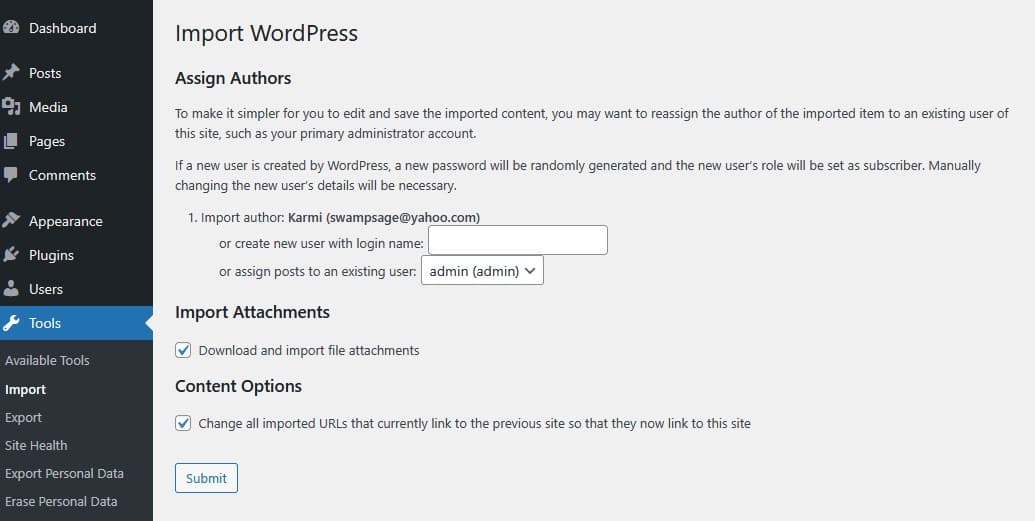
Click Submit, and WordPress will start importing your content. Depending on your site size, this may take a few minutes. When you see the confirmation message, your import is complete — and your test site now mirrors your live site’s posts, pages, and images.
You’re ready to move on to styling and testing your new theme.
You’ve now gone beyond just setting up a testing space — you’ve successfully created a full copy of your site inside Local. Every post, page, and image you brought over gives you a safe place to experiment and learn without risk.
When I first tried this process, I was hesitant to even open Local again after that failed first attempt months ago. It seemed confusing and technical. But with practice, patience, and some AI collaboration, the pieces started to make sense. That’s the same approach I hope you take — steady, curious, and unafraid to experiment.
What’s Next
You’ve completed the second big step in WordPress theme migration by creating your test site and moving your real content safely into Local. In Part 3: WordPress Theme Migration with Local: Styling & Testing Your New Theme, we’ll install the GeneratePress theme, apply a few simple styling tweaks, and preview how your content looks in its new home — still offline, still safe.
Links to Other Parts