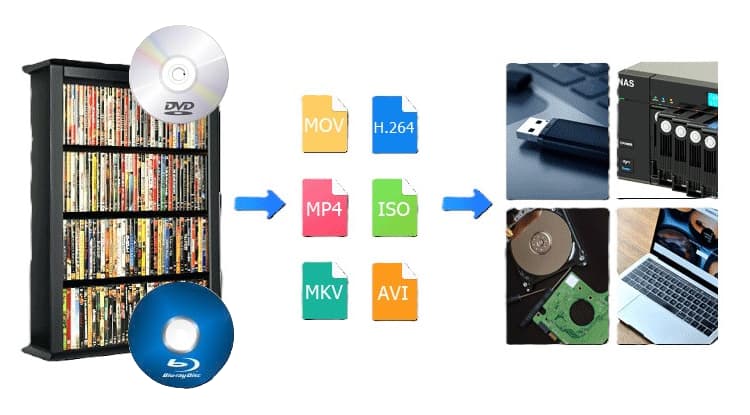
Looks like this series will be in 3-parts initially, i.e., it may restart if I decide later to go with a Media server. Here is Part 1. Am a novice at this digitizing a Media Library, so my method is for those with low budgets and no experience either. 😉
Total costs at this point are $189.63 including tax and free shipping. The external Blu-ray burner drive was 42.69, and EaseFab LosslessCopy software was $39.95 on sale for 1-PC. After research, I purchased a Seagate FireCuda ST4000DX005 4TB 7200 RPM 256MB Cache SATA 6.0Gb/s 3.5″ Internal HDD Bare Drive for $106.99 last night – settled on this HDD after considering reliability, 7200 RPM speed, 3/5 warranty, and costs (there were cheaper & more expensive ones).
I already had some devices/components—which saved on my costs, but you may have to buy more items than listed above:
Already had a couple of USB 3.0 to SATA Docking Stations for 2.5″ or 3.5″‘ HDD/SSD to connect to PC, and then later to connect to a TV’s Blu-ray player—haven’t tried just connecting it to the TV yet, but that may also work. These Docking Stations run from about $30 and up—have never had an issue with the cheaper ones. Docking stations offer more flexibility than the standard External HDDs, IMHO. I also had 2 old HDDs – one is 500GBs & other is 1.0TB, and I have been using them for tests and to help prep Media, resize digital footprint, and such.
HandBrake has been amazing at reducing the digital size of all media so far! 👍👌 A 7+ GB EaseFab digitized media can be reduced down to about 1.5GBs. One test reduced 15++ GBs down to about 2.5GBs. Reducing takes an extra 15-20 minutes, but is well worth it, IMHO, when one considers the prices of large HDDs & SSDs.
Have found it to be faster to use the computer’s drives to digitized & then reduce the footprint size, and then copy the results to the main media HDD.
Also tested doing an image of that main HDD with Clonezilla. Made an image of the 500 GB HDD, and then restored that image to the 1.0TB HDD mentioned above. With an image – if the HDD goes bad, then you can restore to a new HDD; however, remember that the new HDD needs to be exactly the same size as the bad drive, or bigger.
Will probably still use the DVDs & Blu-rays for watching, but have heard that they can go bad after time & usage—hence converting them to the MP4 format. I have a 9-shelf & a smaller 5-shelf custom built units for storage, but was down to room for about 90 more standard movie cases. Recently purchased two SANWA 120 Large Capacity disc holders, to gain more shelving space, and that’s when I decided to also check out digital media as a backup plan.
This should do it for Part 2. Part 3 will go into the steps I used, and offer some pics on that process. Am just a novice on a tight budget, so my steps may be overly cautious, and time wasting…I dunno, but so far it has been working.
