
Thinking about WordPress theme migration but terrified of breaking your site? I get it. I spent three years with a $39 theme that worked fine until it started fighting every customization attempt. Bullet text displayed larger than paragraph text, and CSS fixes failed repeatedly. The theme’s stubborn specificity overrode everything.
But here’s the thing: WordPress theme migration doesn’t have to be risky. You can test everything safely on your own computer before touching your live site. No expensive staging servers, no $5,000 web developers, just free software called Local and a methodical approach.
This is Part 1 of a complete guide showing you how to migrate WordPress themes safely. I’m a 79-year-old hermit who just migrated from Multipurpose Blog Pro to GeneratePress using Local. If I can do this, you can do it too.
Why WordPress Theme Migration Matters
WordPress theme migration seems daunting, but understanding why and when to migrate makes the decision easier.
Your WordPress theme controls everything visitors see – layout, colors, fonts, mobile responsiveness. But themes age. Updates break compatibility. Customization becomes harder. You’re stuck fighting CSS specificity rules, wondering why simple changes require hours of troubleshooting.
I hit that wall. My theme worked great in 2022. By 2025, every modification was a battle. The final straw: bullet text displaying larger than paragraph text, with no CSS override working. The theme’s built-in styling fought every fix I attempted.
Sound familiar? You’re not alone.
When Old Themes Break Down
Older WordPress themes struggle with modern WordPress updates. Theme developers abandon products. Support ends. What worked perfectly three years ago becomes a liability.
Common problems with aging themes:
- CSS customizations fail due to excessive specificity
- Mobile responsiveness degrades
- Security vulnerabilities emerge without updates
- Plugin compatibility breaks
- Page load speeds increase
- Modern WordPress features don’t work properly
The solution: migrate to a modern, actively maintained theme. But doing it wrong breaks your site, loses content, or crashes your SEO rankings.
That’s where Local comes in.
What Is Local and Why Use It
Local is free software from WP Engine that creates WordPress testing environments on your computer. Think of it as a practice space where you can experiment without risking your live site.
With Local, you can:
- Install WordPress on your computer (no hosting needed)
- Import your actual site content for testing
- Try different themes safely
- Break things without consequences
- Test customizations before going live
- Switch back instantly if something fails
Local runs entirely on your computer. Your live site stays untouched until you’re satisfied with the new theme.
This is how professionals handle WordPress theme migration. Now you can too.
Backup Before You Begin
Before making any changes to your live site, create a backup. If something goes wrong during WordPress theme migration, you can restore everything to exactly where it was.
Backup options:
- Self-hosted blogs (WordPress.org): Use your hosting provider’s backup tool (most hosts like Hostinger, Bluehost, SiteGround offer one-click backups), or use a plugin like UpdraftPlus
- WordPress.com paid plans: Automattic handles automatic backups for you
- Windows users: Create a System Restore Point as additional protection for your local computer
One backup protects years of work. Don’t skip this step.
Installing Local
Local installation takes about 10-15 minutes. Here’s the complete process with screenshots showing every step.
Download Local
Go to Local and click the Download button. The software is free – no payment required.
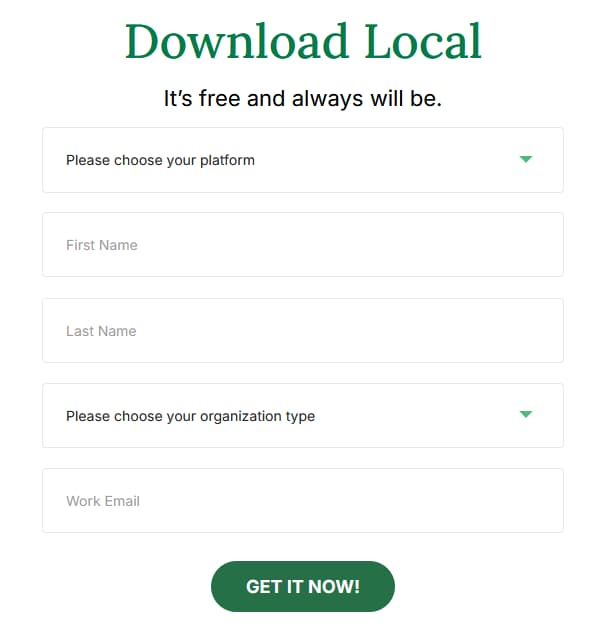
You’ll need to enter your email address to download. This is standard for WP Engine’s free software.
Run the Installer
After downloading (file size: approximately 708 MB), locate the installer file in your Downloads folder and double-click to run it.
Choose your installation options:
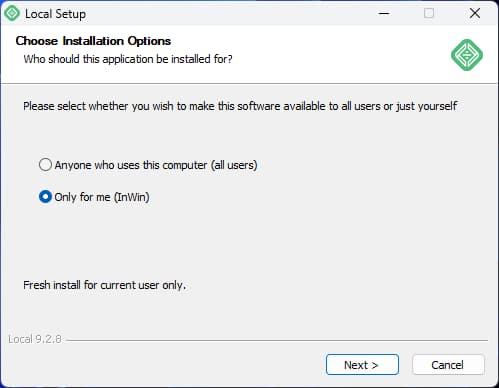
Select “Only for me” unless multiple users on your computer need access to Local.
Choose Install Location
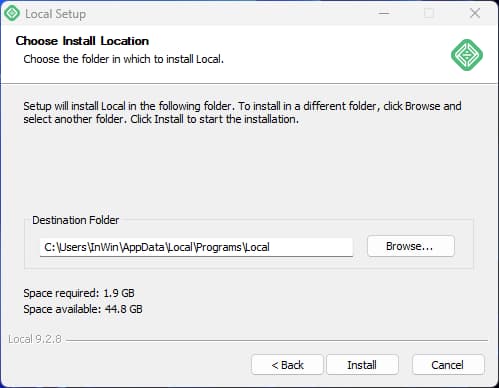
The default installation location (C:\Program Files\Local) works fine for most users. Click Continue.
Installation Progress
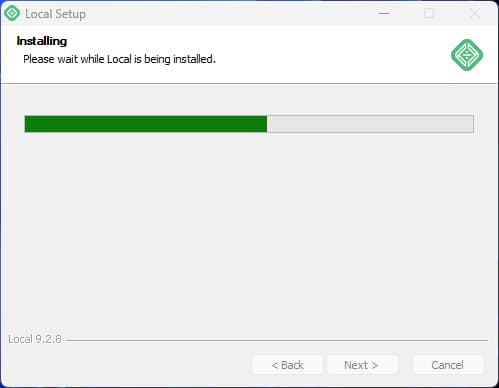
Installation takes 5-10 minutes depending on your computer speed. Don’t interrupt the process.
Microsoft Visual C++ Components
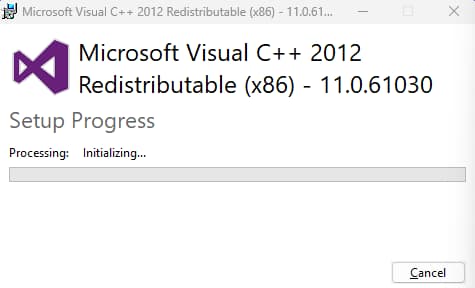
During installation, a popup appears asking to install Microsoft Visual C++ Redistributable components. This is normal – Local needs these to run properly. Click Yes or Install to continue.
If installation appears frozen at “Initializing,” wait 5-10 minutes. The Visual C++ installation sometimes pauses without showing progress.
Complete Installation
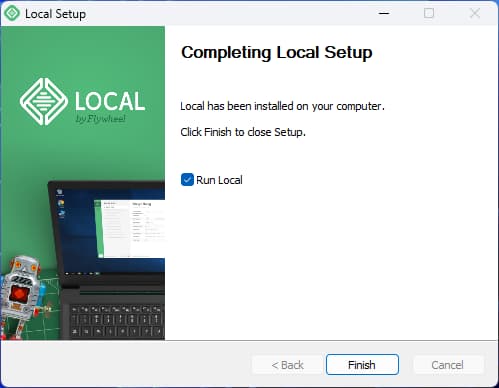
When installation finishes, click the button to launch Local.
First Launch Setup
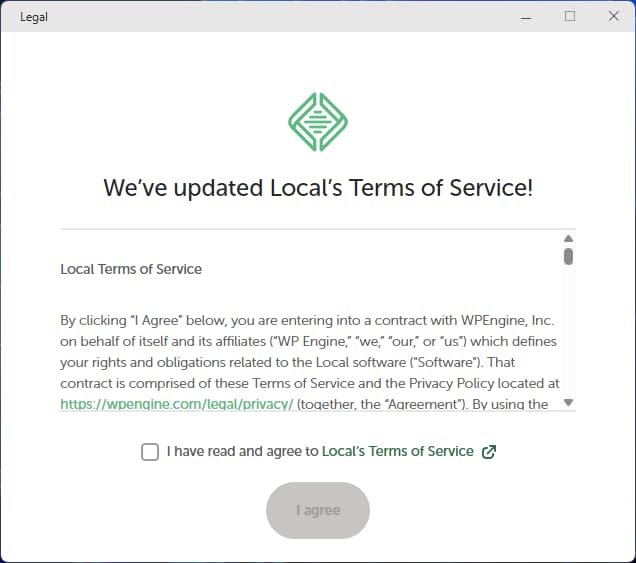
Local opens with Terms of Service. Check the box and click “I Agree.”
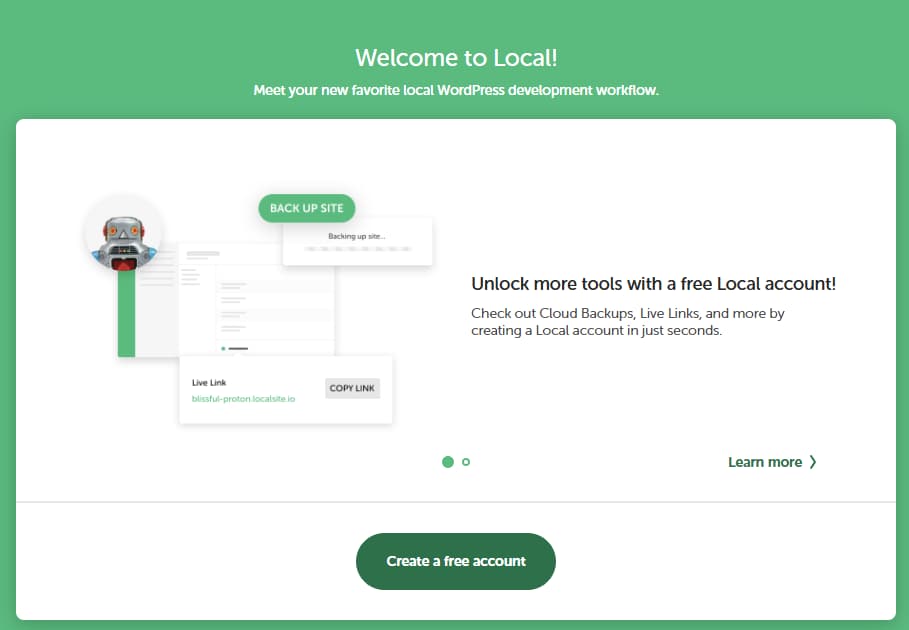
A popup appears suggesting account creation. Close this window (X button) – accounts are optional. Local works perfectly without one.
Local may ask about error reporting. Click “No Thanks” – this is also optional.
Ready to Create Sites
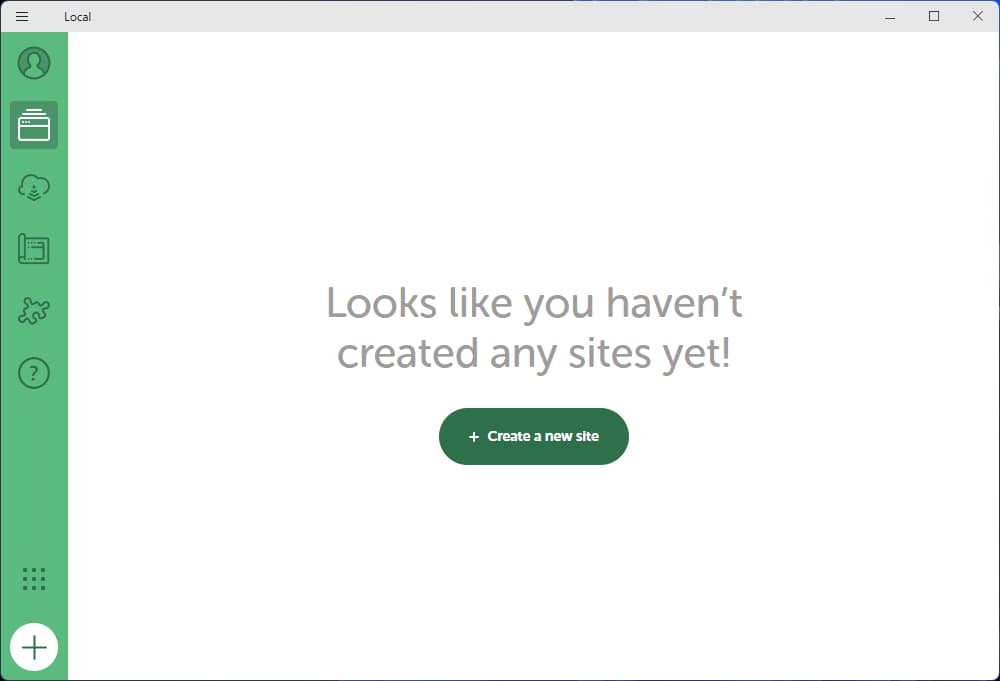
You’re now looking at Local’s main interface. The green “+” button in the bottom left creates new WordPress sites.
This is your testing laboratory. Everything you do here happens on your computer only – your live site remains completely untouched.
Learning Through Trial and Error
My first attempt at WordPress theme migration earlier this year failed. I installed Local, got confused by the interface, added unnecessary apps that complicated everything, and gave up frustrated.
Then I tried a different approach: AI collaboration. Instead of struggling alone, I worked with AI assistants to troubleshoot step-by-step, document each decision, and understand what actually mattered versus what was just noise. That methodical collaboration made the difference between failure and success.
If you get stuck during this process, don’t give up. Ask questions, work through problems systematically, and remember that even technical novices can master WordPress theme migration with the right guidance.
What’s Next
You’ve completed the first critical step in WordPress theme migration by installing Local. In Part 2, we’ll create your test site and import your actual blog content into Local. Then in Part 3, we’ll install the new theme, add styling, and test everything thoroughly before going live. The entire process is safe – you’ll see exactly how your content looks with a modern theme before making any changes to your live site.
Links to Other Parts
- Part 2: Creating Your Test Site
- Part 3: Styling & Testing Your New Theme
- Part 4: Going Live with GeneratePress